

Most AI coding assistants live in a browser tab or an IDE plugin. Pi takes a different approach: it runs entirely in your terminal and integrates with your existing development workflow rather than asking you to change it.
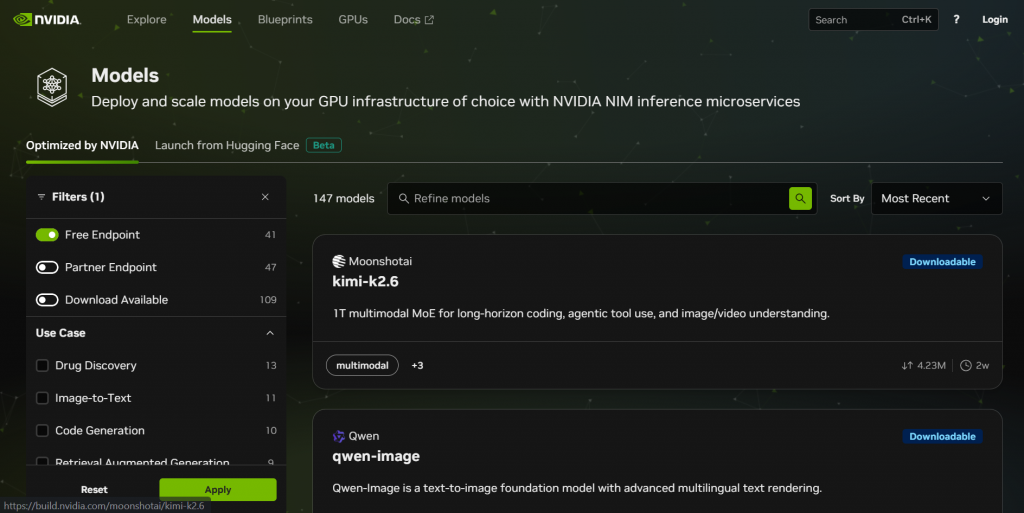
Pi supports several AI providers through one interface, including NVIDIA NIM. NIM gives developers access to GPU-accelerated inference on NVIDIA’s infrastructure, and during its current testing phase, that access is free. This post walks through pairing the two: pointing Pi at NIM for inference, then using that setup to build a working service agent on Salesforce, complete with custom actions, permissions, and testing.
This is useful for developers who want a terminal-native coding assistant, and for Salesforce admins or developers curious about wiring an LLM-backed workflow into Agentforce without incurring inference costs during the build phase.
The core idea is simple. NVIDIA NIM exposes an OpenAI-compatible API, meaning it accepts requests in the same format as OpenAI’s chat completions endpoint. Any tool that already speaks that format, including Pi, can switch providers by changing two values: the base URL and the API key.
Once Pi is talking to NIM, you have a terminal assistant backed by a GPU-hosted model that understands your codebase and file structure. From there, the workflow looks like any other agent build: create the agent shell in Salesforce, strip out what you don’t need, add custom actions backed by Apex, grant the right permissions, and test it end-to-end.
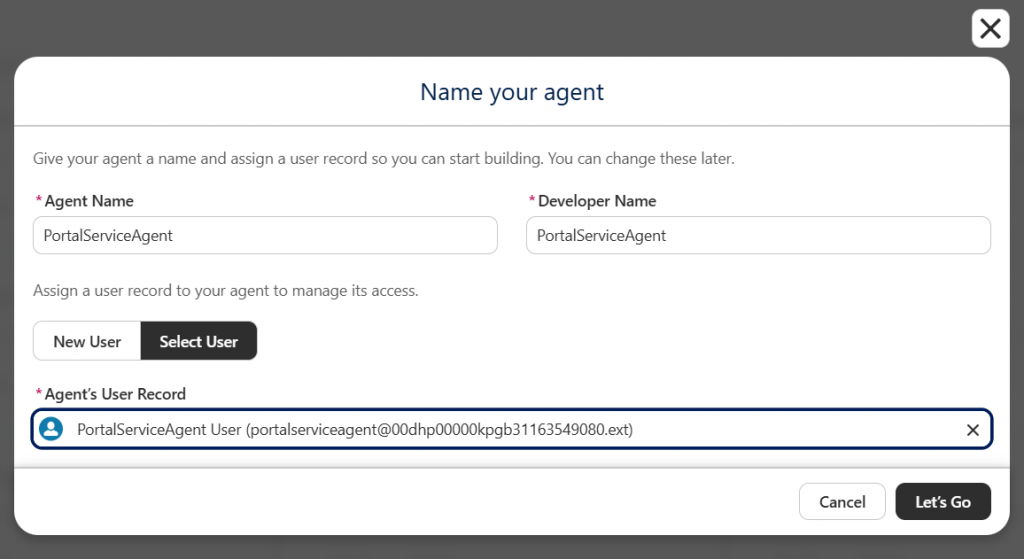
Start in Salesforce Setup, under the agent builder, and create a new service agent. Give it a clear name, then use the Salesforce CLI to retrieve the agent’s metadata into your local project directory so you can work on it in your editor of choice.
New agents ship with a set of default subagents and actions you likely don’t need. Removing them reduces hallucinations and keeps token usage lean. Keep only two handlers: one that politely declines off-topic requests, and one that asks for clarification when a user’s intent is ambiguous. Remove the references to the deleted handlers from the agent’s router configuration as well, or the agent will fail to load.
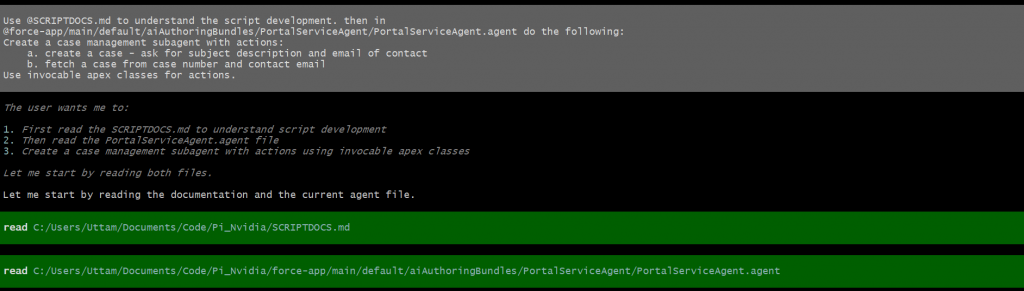
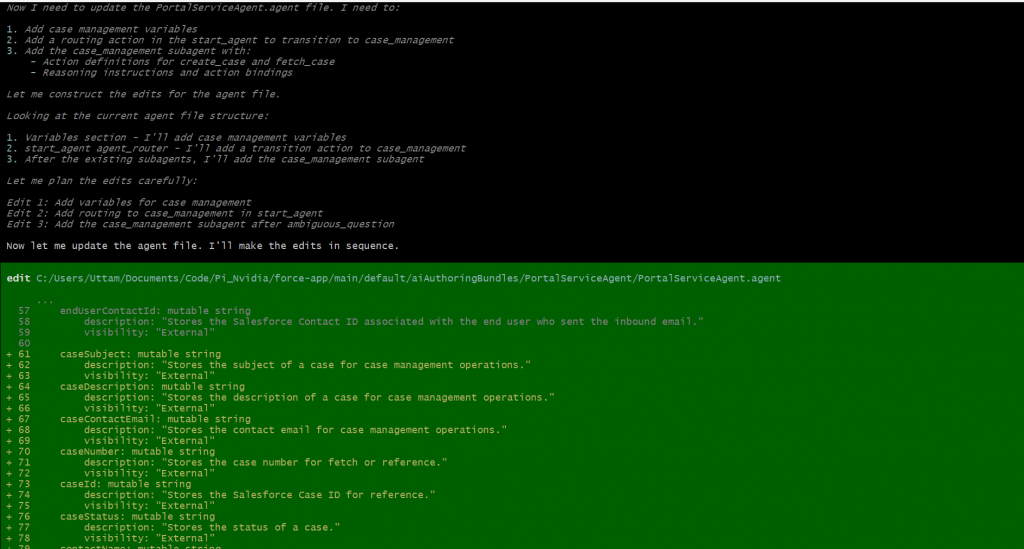
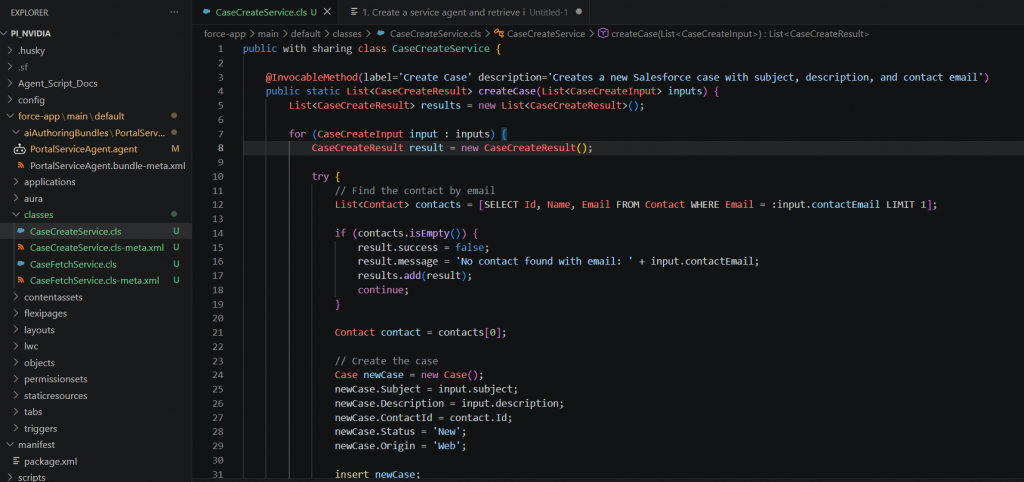
This is where the agent starts doing real work. Create a subagent focused on case management, with two actions backed by Apex. The first action creates a record: it takes a subject, a description, and a contact email, and writes a new case. The second action fetches a record: it takes a case number and a contact email and returns the matching case only if both match, preventing the lookup from becoming an open data leak.
This is exactly the kind of scaffolding Pi is good at generating quickly, since it can read your existing metadata and produce both the Apex classes and the agent configuration changes in one pass.
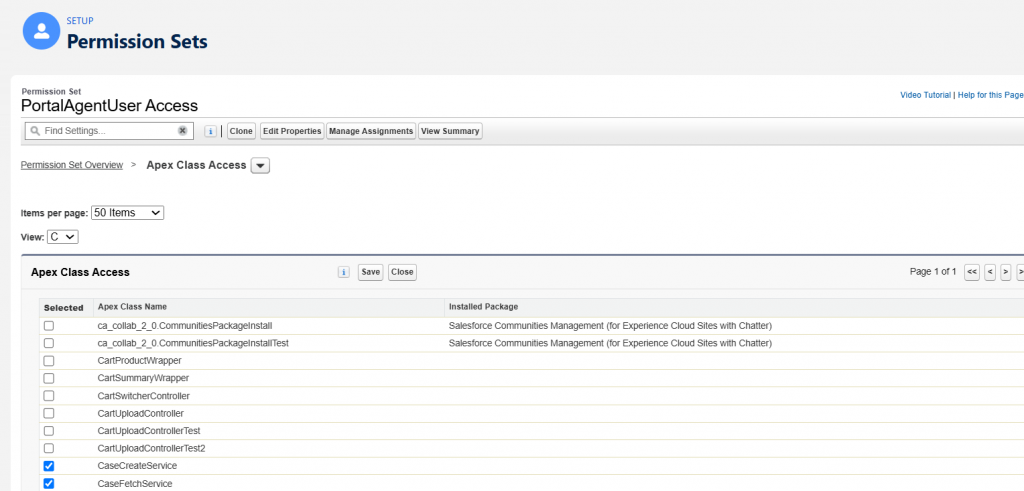
Agent runtime interactions execute under a dedicated system user, not your own login. If that user’s profile doesn’t have explicit access to your new Apex classes and the underlying objects, every action call fails at runtime, even though the agent itself is configured correctly. Create a permission set that grants execution access to the two new Apex classes, read and create access on the case object, and read access on the contact object and its email field. Assign that permission set to the agent runtime user.
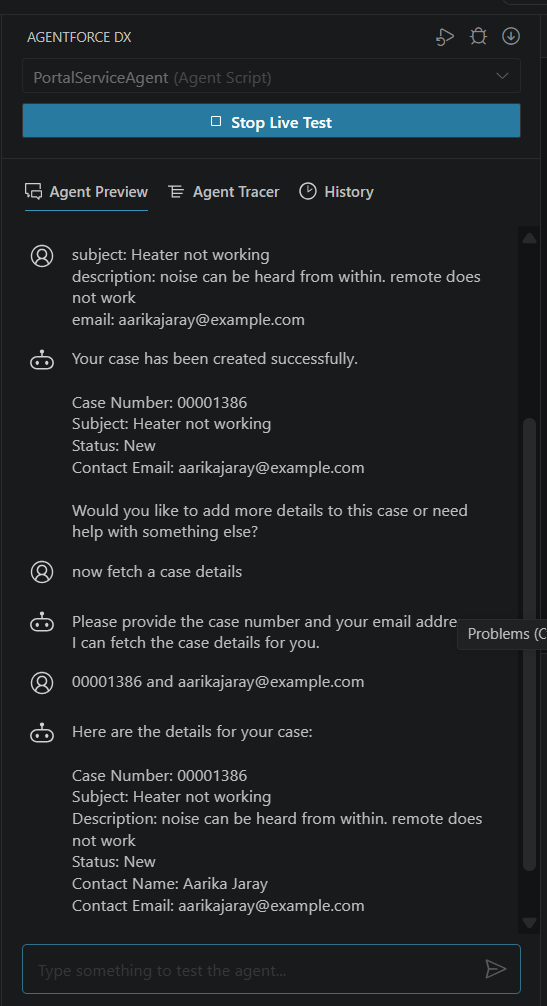
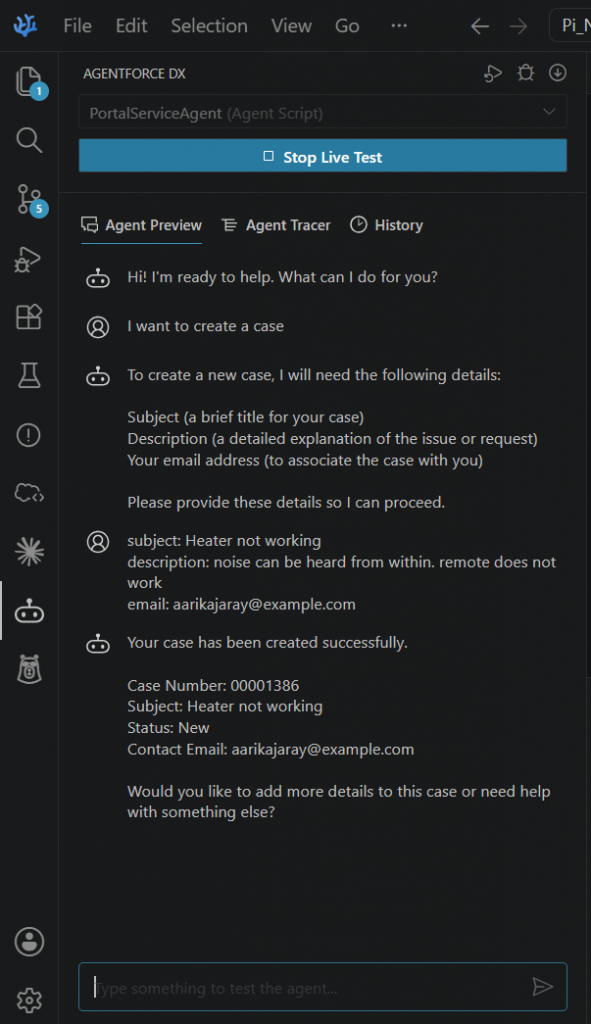
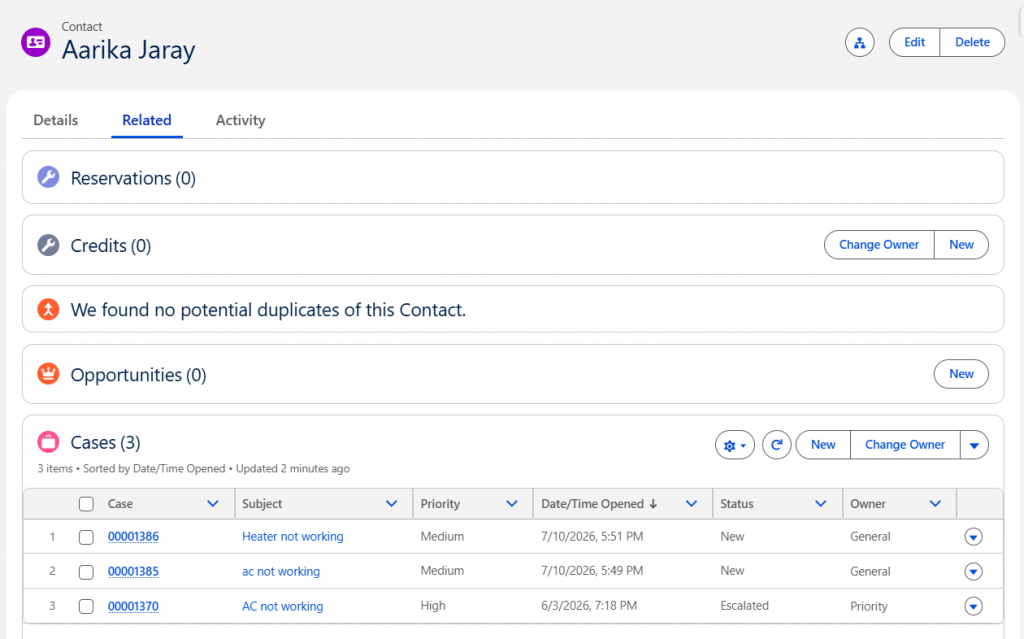
Deploy the changes to your target org, then open the agent preview. Test the boundary first: ask the agent to do something unrelated to its purpose, such as writing a script or ordering food, and confirm it gracefully declines. Then test the real actions: ask it to open a case, and separately ask it to look one up, and confirm the record appears correctly in Salesforce afterward.
Check for the created case record in Salesforce:
The two Apex-backed actions follow a similarly simple shape:
action create_case(subject, description, contact_email):
validate inputs are present
insert new Case record with subject, description, contact_email
return case_number
action fetch_case(case_number, contact_email):
query Case where CaseNumber = case_number AND ContactEmail = contact_email
if match found:
return case details
else:
return “no matching case found”
Both actions intentionally require two matching pieces of information for lookups, so a case number alone isn’t enough to retrieve someone else’s data.
Stripping unused subagents matters more than it looks. Leaving default handlers in place doesn’t just add clutter; it gives the model more surface area to go off-script and burns tokens on paths you’ll never use.
Permissions are the most common silent failure. An agent can look fully configured and still fail every action call because the runtime user, not the developer, needs access. This is easy to miss because the error appears as a generic execution failure rather than a permissions error.
Requiring two fields for a lookup action is a small design choice with an outsized effect on security. It costs almost nothing to add and closes an obvious gap where a guessable identifier alone would expose someone else’s record.
Using a GPU-hosted model via NIM removed the cost barrier to iterating quickly during the build phase, since the free testing tier covers the exploratory generation this workflow needs. Having Pi generate the Apex classes and agent configuration together in one pass noticeably reduced the manual back-and-forth of writing scaffolding by hand and kept the agent and its supporting code in sync.
Pairing a terminal-based coding assistant with a free, GPU-accelerated inference endpoint is a practical way to build and iterate on an agent without waiting on API costs or context switching to a browser. If you’re building something similar, start with the permission set before you start testing actions. It will save you a confusing afternoon spent debugging a runtime error caused by a missing grant.