

As Salesforce continues to be a go-to platform for businesses worldwide, ensuring efficient development and deployment processes has become increasingly critical. Implementing Continuous Integration and Continuous Deployment (CI/CD) practices, irrespective of the version control system being used, is key to achieving streamlined, error-free, and rapid application delivery. In this blog, we will discuss the step-by-step process of setting up a CI/CD pipeline for Salesforce using any version control system.
CI : Automatically build and test code changes.
CD : Automatically deploy these changes.
Result: Streamlined development, early bug detection, and rapid feature delivery.
Setting up Continuous Integration/Continuous Deployment (CI/CD) for your Salesforce and Bitbucket integration involves automating the build, test, and deployment processes. Below are steps to set up a basic CI/CD pipeline:
For setting up pipelines we need to create a server certificate and key in order to integrate our Salesforce org with the Bitbucket every time for deployments without user intervention.
This process produces two files:
Install OpenSSL and run the below commands.
Go to your Salesforce organization and under Setup -> Create ->Apps create new App with the following settings:
For Use digital signature setting use server.csr file which was generated before.
Then go to the Setup -> Manage Users -> Profiles and enable the created App for the user profile which will be used to authorize.
Run the below command to encrypt the key and it’ll generate the decryption ‘key and iv’ which will be used later by the bitbucket to decrypt the key.
1) openssl enc -aes-256-cbc -k <passphrase here> -P -md sha1 -nosalt
2) openssl enc -nosalt -aes-256-cbc -in your_key_location/server.key -out assets/server.key.enc -base64 -K <key from above> -iv <iv from above>
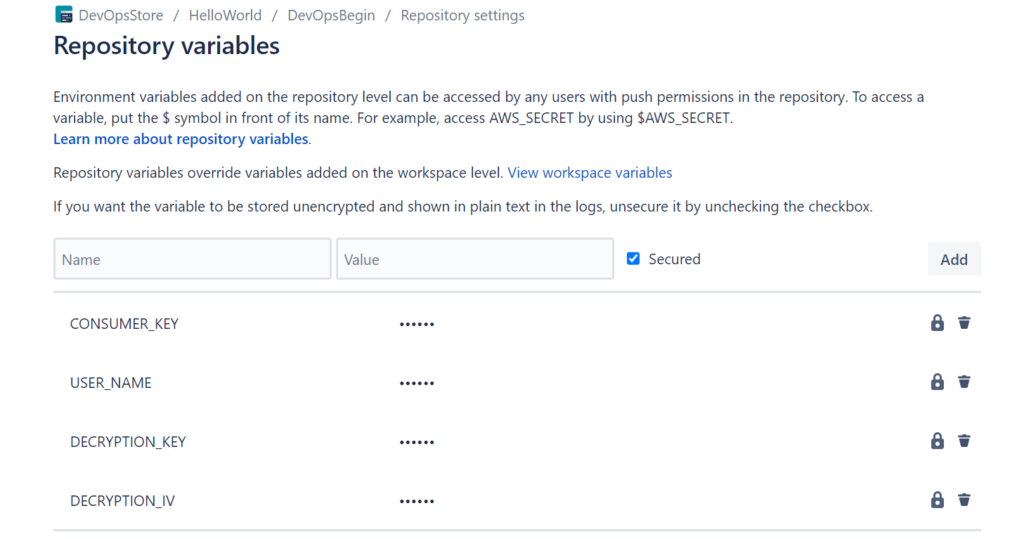
NOTE: In order to create repository variables, we need to have pipelines enabled for the repository along with 2 step verification.
Setup the following variables
					CONSUMER_KEY – From the connected app in Salesforce.
USER_NAME – Your salesforce destination username
DECRYPTION_KEY  -- Key generated from running this command
openssl enc -aes-256-cbc -k <passphrase here> -P -md sha1 -nosalt

DECRYPTION_IV  -- IV generated from running this command
openssl enc -aes-256-cbc -k <passphrase here> -P -md sha1 -nosalt
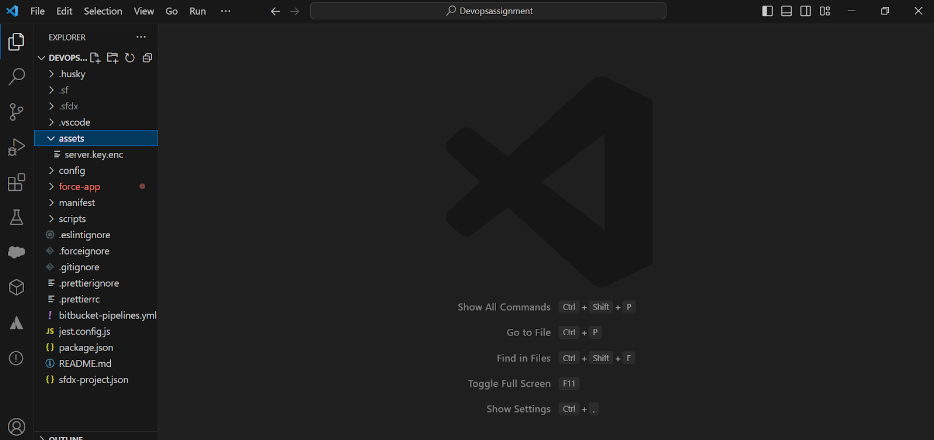
Create a new folder and add the encrypted file to the project in vscode .(folder:assets)
Create a file called ‘bitbucket-pipelines.yml’. This includes a script to execute the pipeline.
					# You can specify a custom docker image from Docker Hub as your build environment.
image:
  name: salesforce/cli:latest-full
pipelines:
  custom: #These commands run for all branches unless specified otherwise
    deploymentToDevopsDevOrg:
    - step:
        script:
          #Assign variables
          - export TESTLEVEL=NoTestRun
          - sf --version
          - sf plugins --core
          #Decrypt server key
          - openssl enc -nosalt -aes-256-cbc -d -in assets/server.key.enc -out assets/server.key -base64 -K $DECRYPTION_KEY -iv $DECRYPTION_IV
          #Authorize target org
          - sf org login jwt --username $USER_NAME --jwt-key-file assets/server.key --client-id $CONSUMER_KEY --alias myOrg --set-default
          #Convert Source code to mdapi format
          - sf project convert source -d mdapi
          #Deploy to target deployment org and run unit tests
          - sf project deploy start --wait 10 -d mdapi --target-org myOrg --test-level $TESTLEVEL
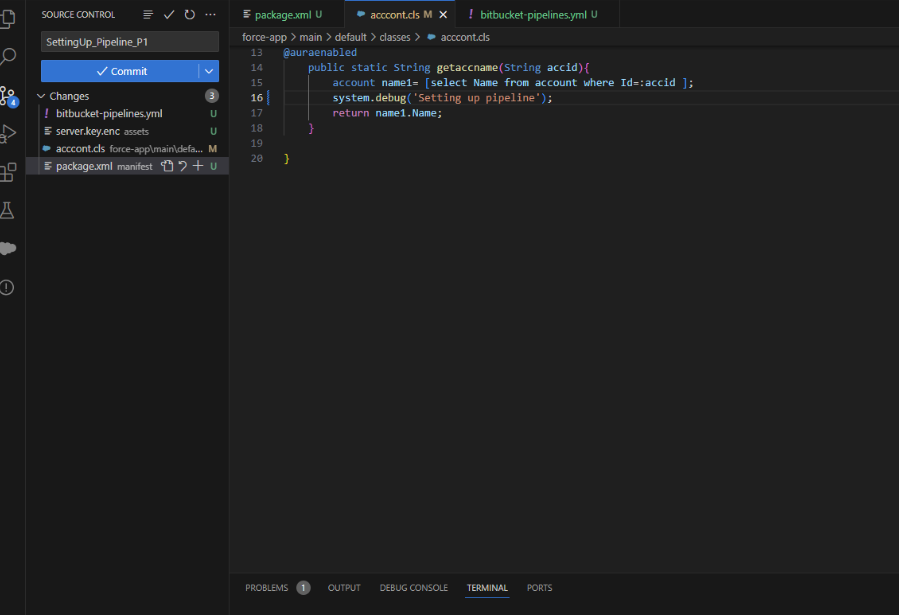
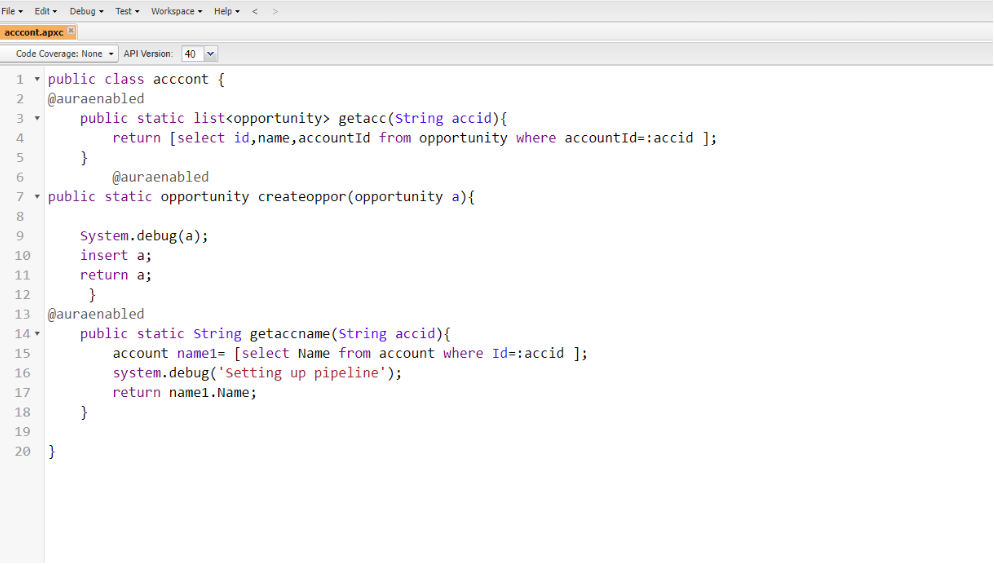
Make some changes in the code, so that you see the changed version in destination org.
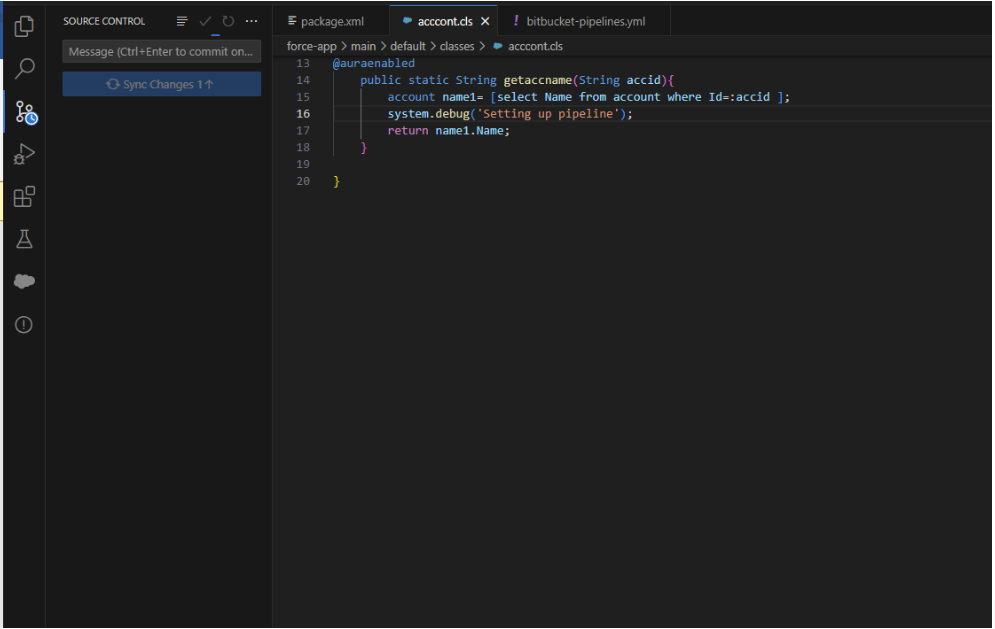
This is how your class and source control tab looks like after all the changes. Commit the changes and sync them.
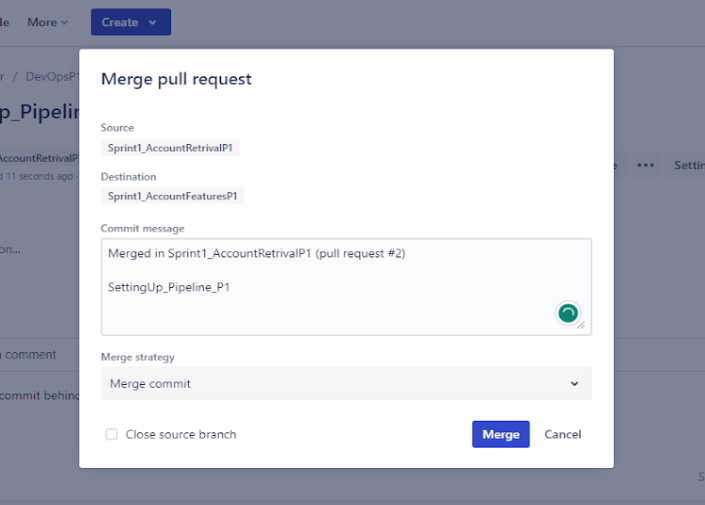
Back to bitbucket, Create a pull request and merge it with sprint branch
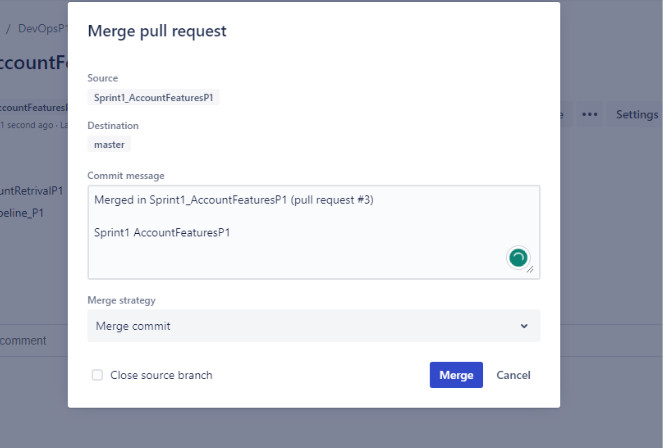
The pipeline file should be in the master branch.Only then you will be able to set up the pipeline. Create a new pull request to move changes to master from the sprint branch.
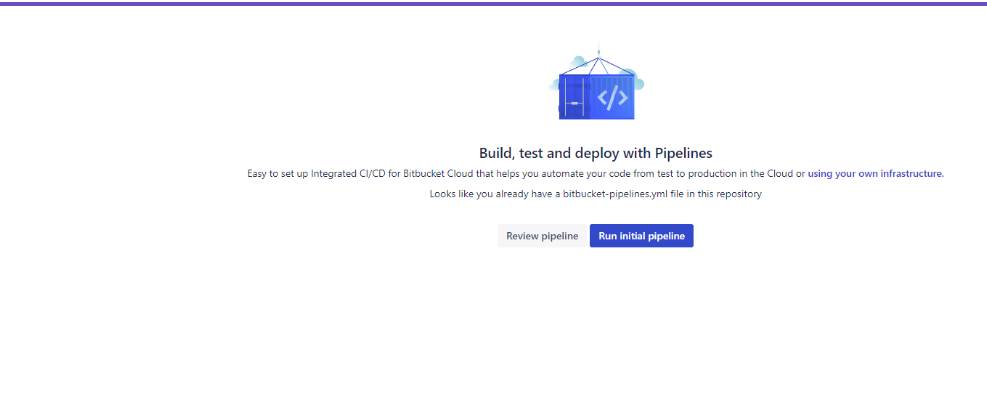
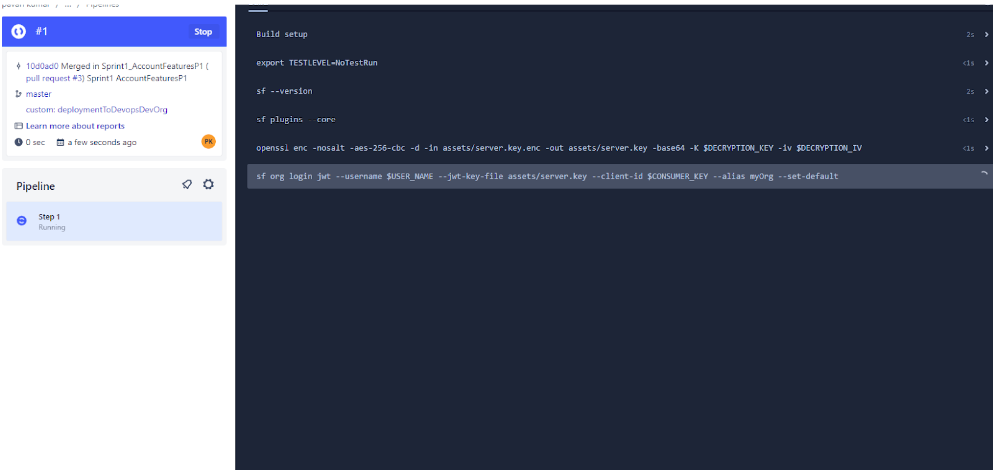
Move to Pipelines on the left nav bar. You will see something like this.Click on Run initial pipeline.
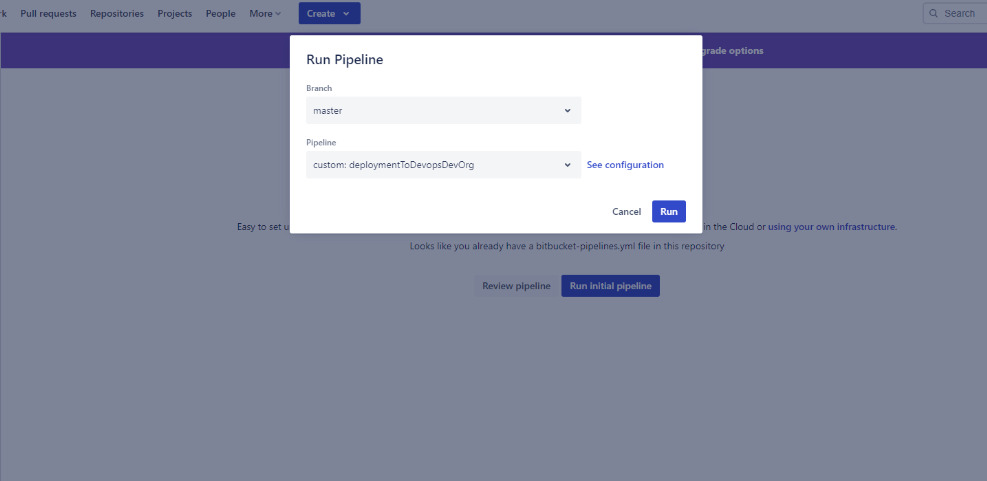
Select branch as Master and Pipeline will be the name of the pipeline we added in the pipeline file in the VS Code.
Click on Run.
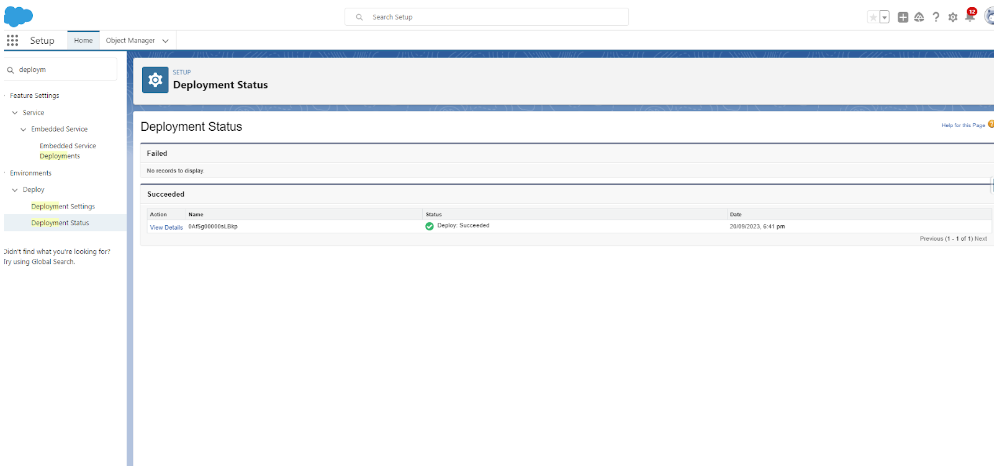
Come back to salesforce destination org and Setup 🡪 Quick Find 🡪 Deploy 🡪 Deployment Status.
Changes are in destination now. To verify go to Dev Console 🡪 File 🡪 Open Resource 🡪 your class name
Implementing CI/CD practices for Salesforce development, regardless of the version control system in use, is essential for maintaining a smooth and efficient development workflow. By setting up a well-structured CI/CD pipeline and integrating automated testing, development teams can ensure the delivery of high-quality, error-free Salesforce applications. Embracing CI/CD principles not only accelerates the development lifecycle but also enhances the overall quality and reliability of Salesforce implementations. With a robust CI/CD pipeline in place, Salesforce development teams can focus on delivering innovative solutions that meet the dynamic needs of their organizations.