
Why Integrate with SharePoint?
One of the main reasons is the revenue cost. With SharePoint integration, an organization can save a lot in Salesforce’s storage costs. A standard SharePoint storage is 1 TB. If that is not enough, extra storage is available at a very reasonable price of $0.20/month per GB (exact plans are available online).
Getting Familiar With SharePoint Terms
- Tenant: A tenant represents an organization. It’s a dedicated instance of Azure Active Directory received after signing up for a Microsoft Azure account.
- Site: It is a website that contains different SharePoint Web components like Document Library, Calendar, Task List, etc. There can be multiple Sites under a single Tenant.
- Document Library: A secure place to store files related to a specific project or a client so as to collaborate among co-workers.
- Drive: The drive resource is the top-level object representing a user’s OneDrive or a document library in SharePoint.
- Drive Item: The driveItem resource represents a file, folder, or other item stored in a drive.
Prerequisites
Before we start writing Apex classes to make callouts, we need few basic information to communicate with SharePoint. It is advisable to seek help from the SharePoint admin team for carrying out the steps mentioned below.
-
Login to Microsoft Azure account.
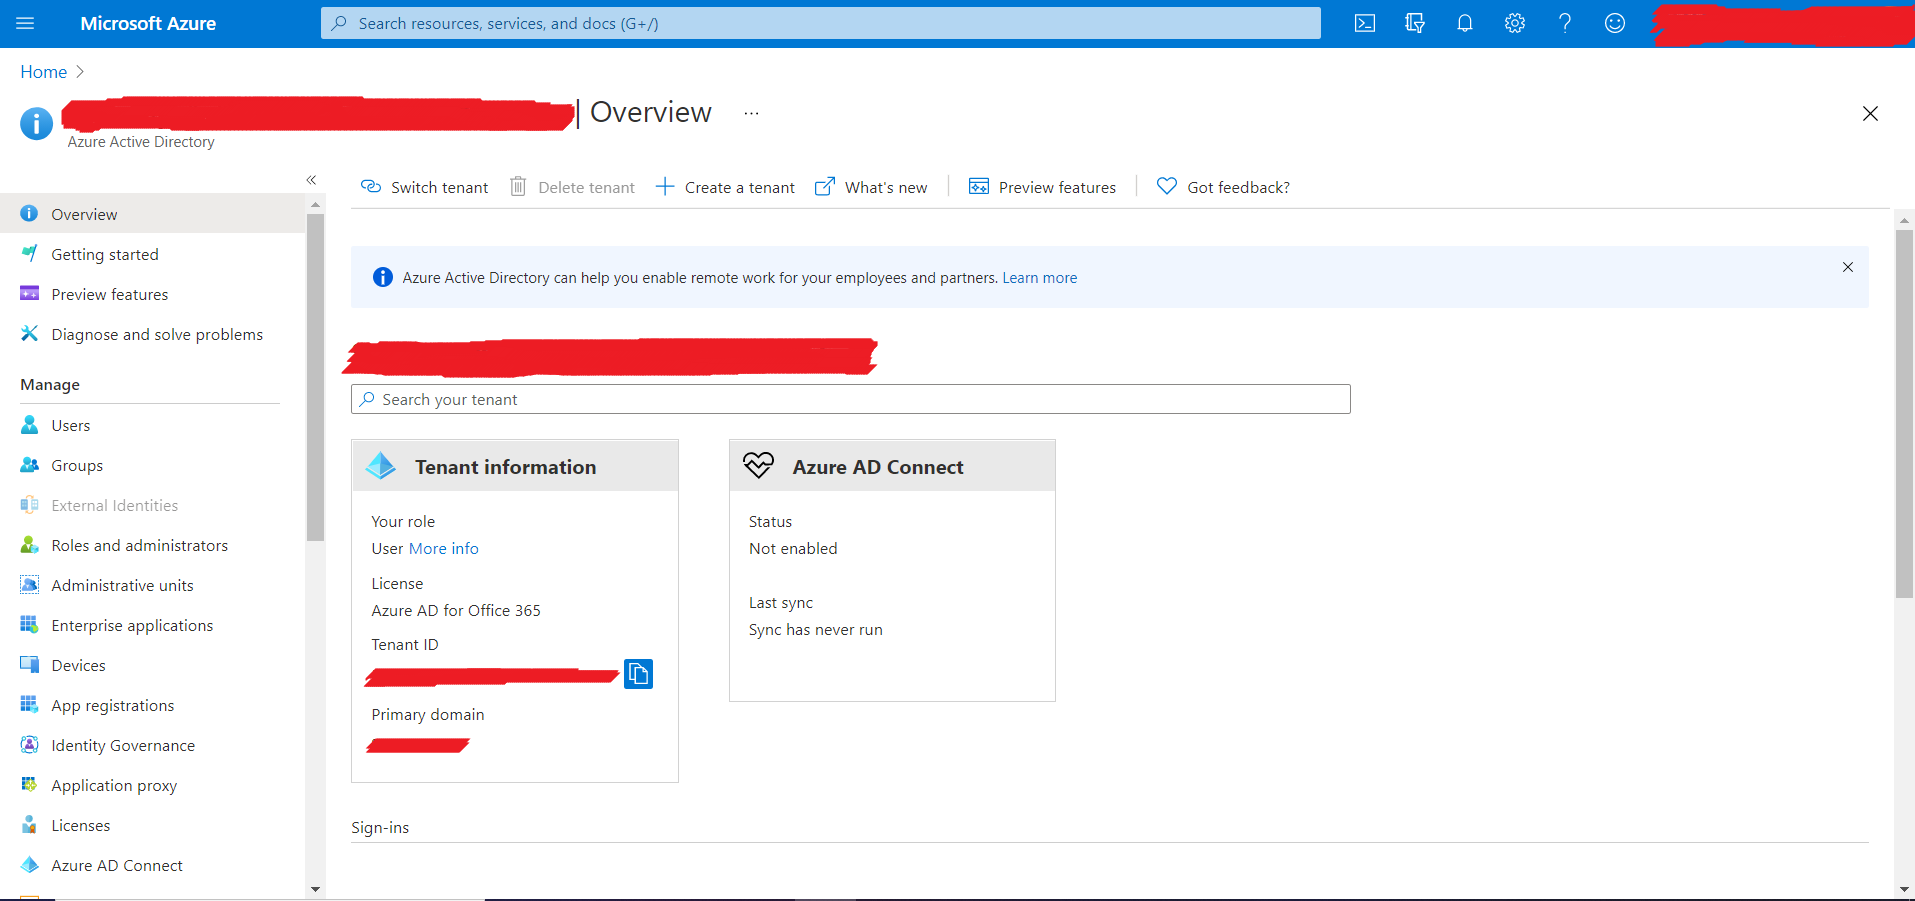
Click on Azure Active Directory.
-
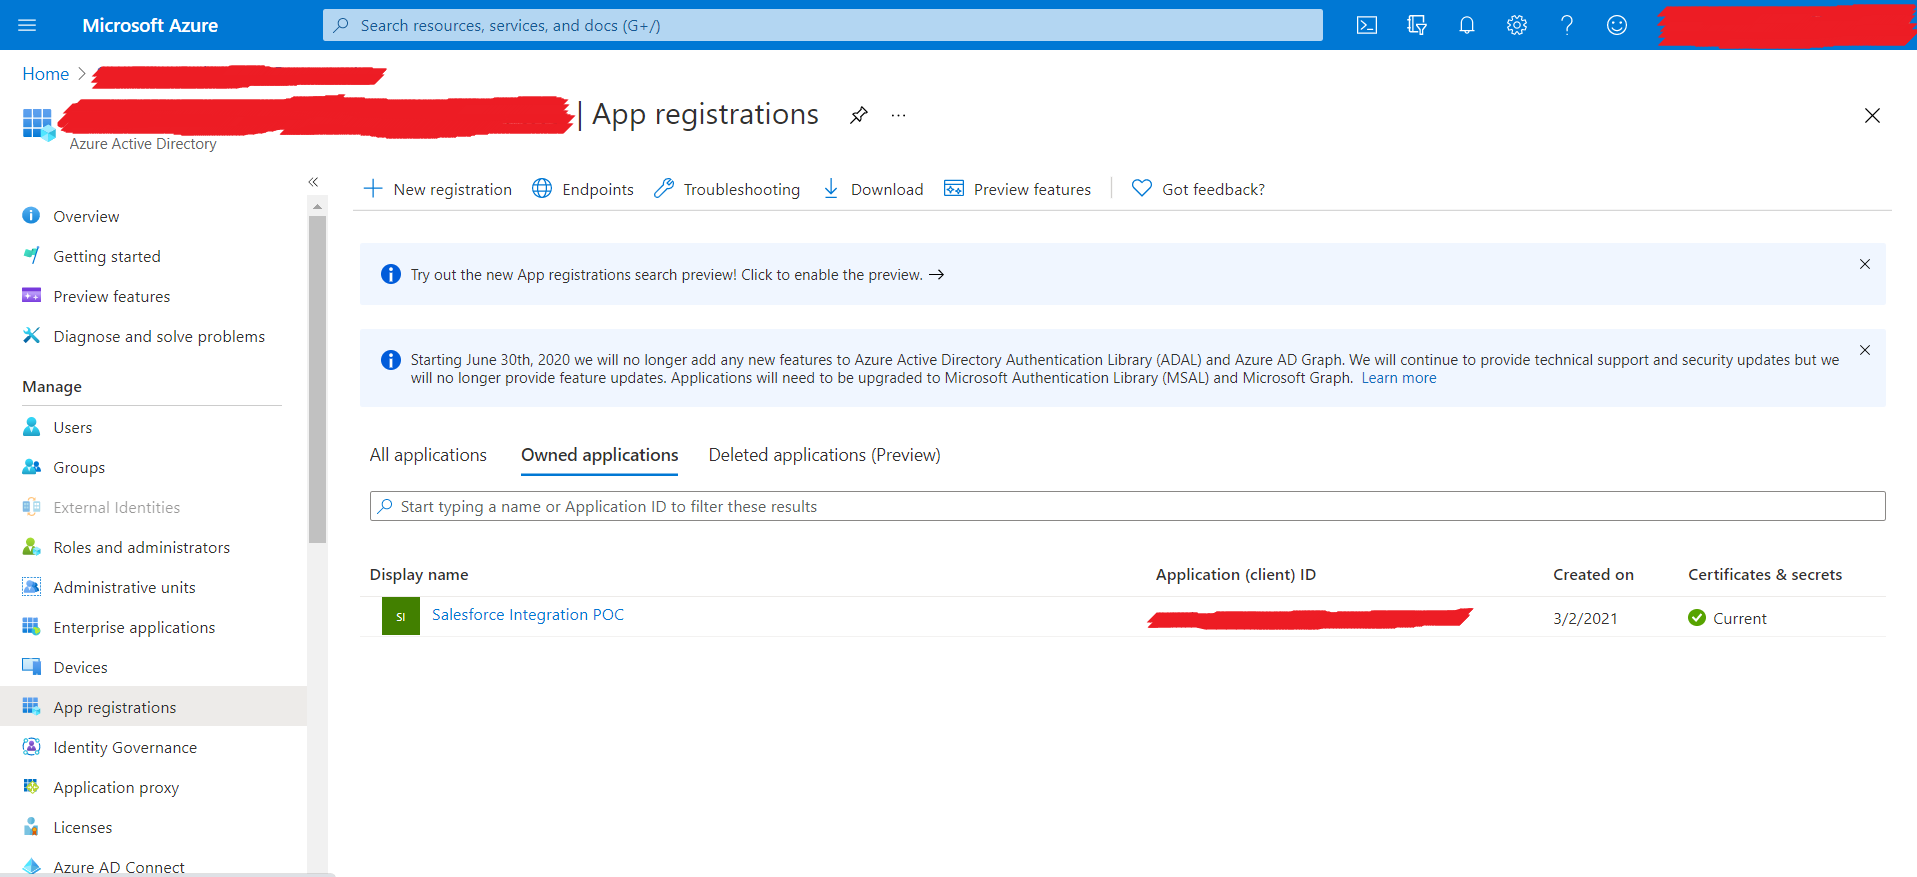
Create an app in the Azure Portal for the Tenant.
Click on App registrations on the left panel.
Click on New registration.
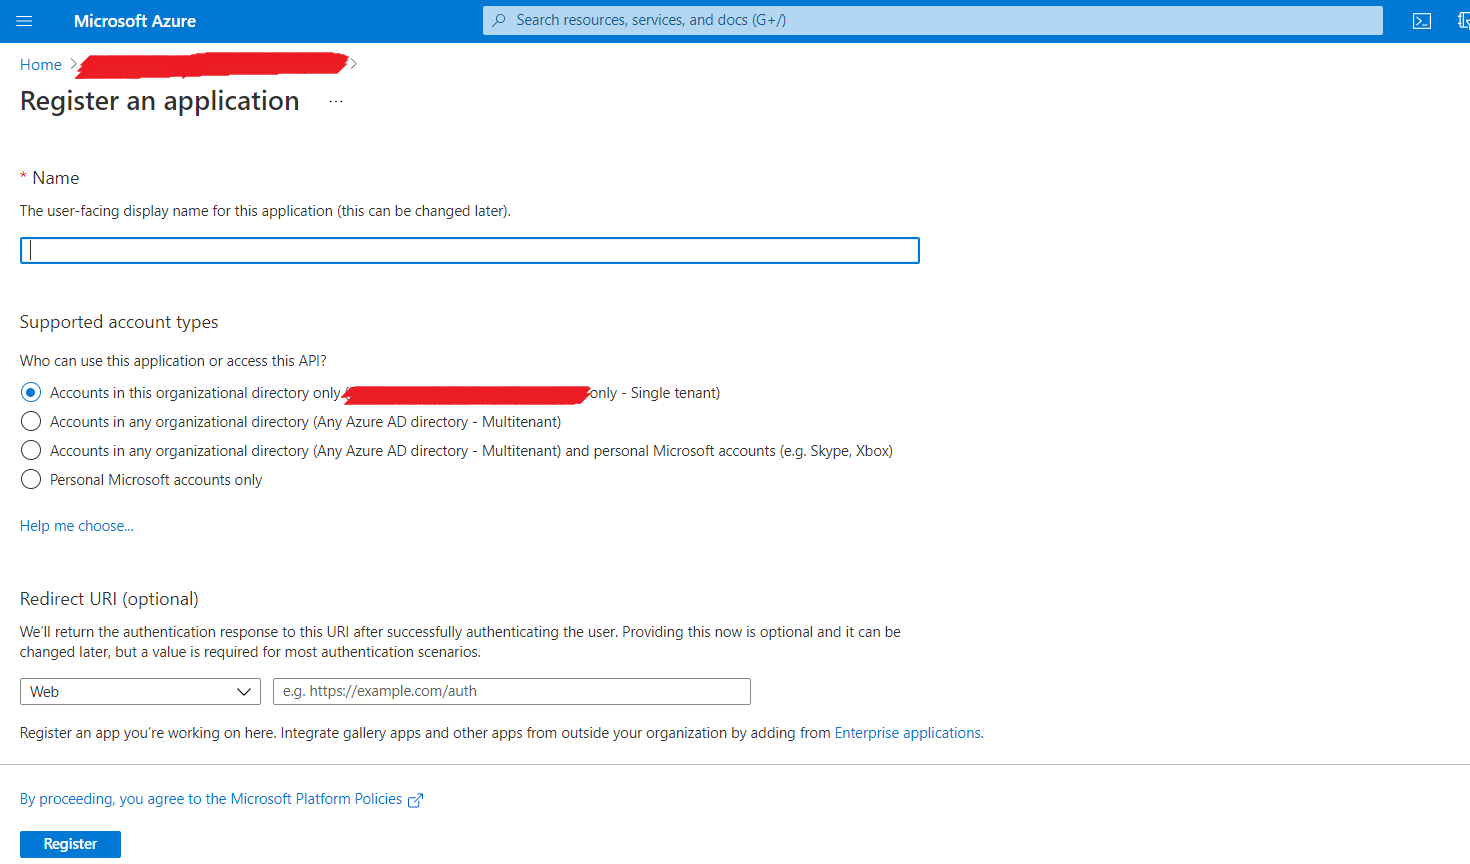
Enter the App name and select the options as shown in the image.
Click on Register.
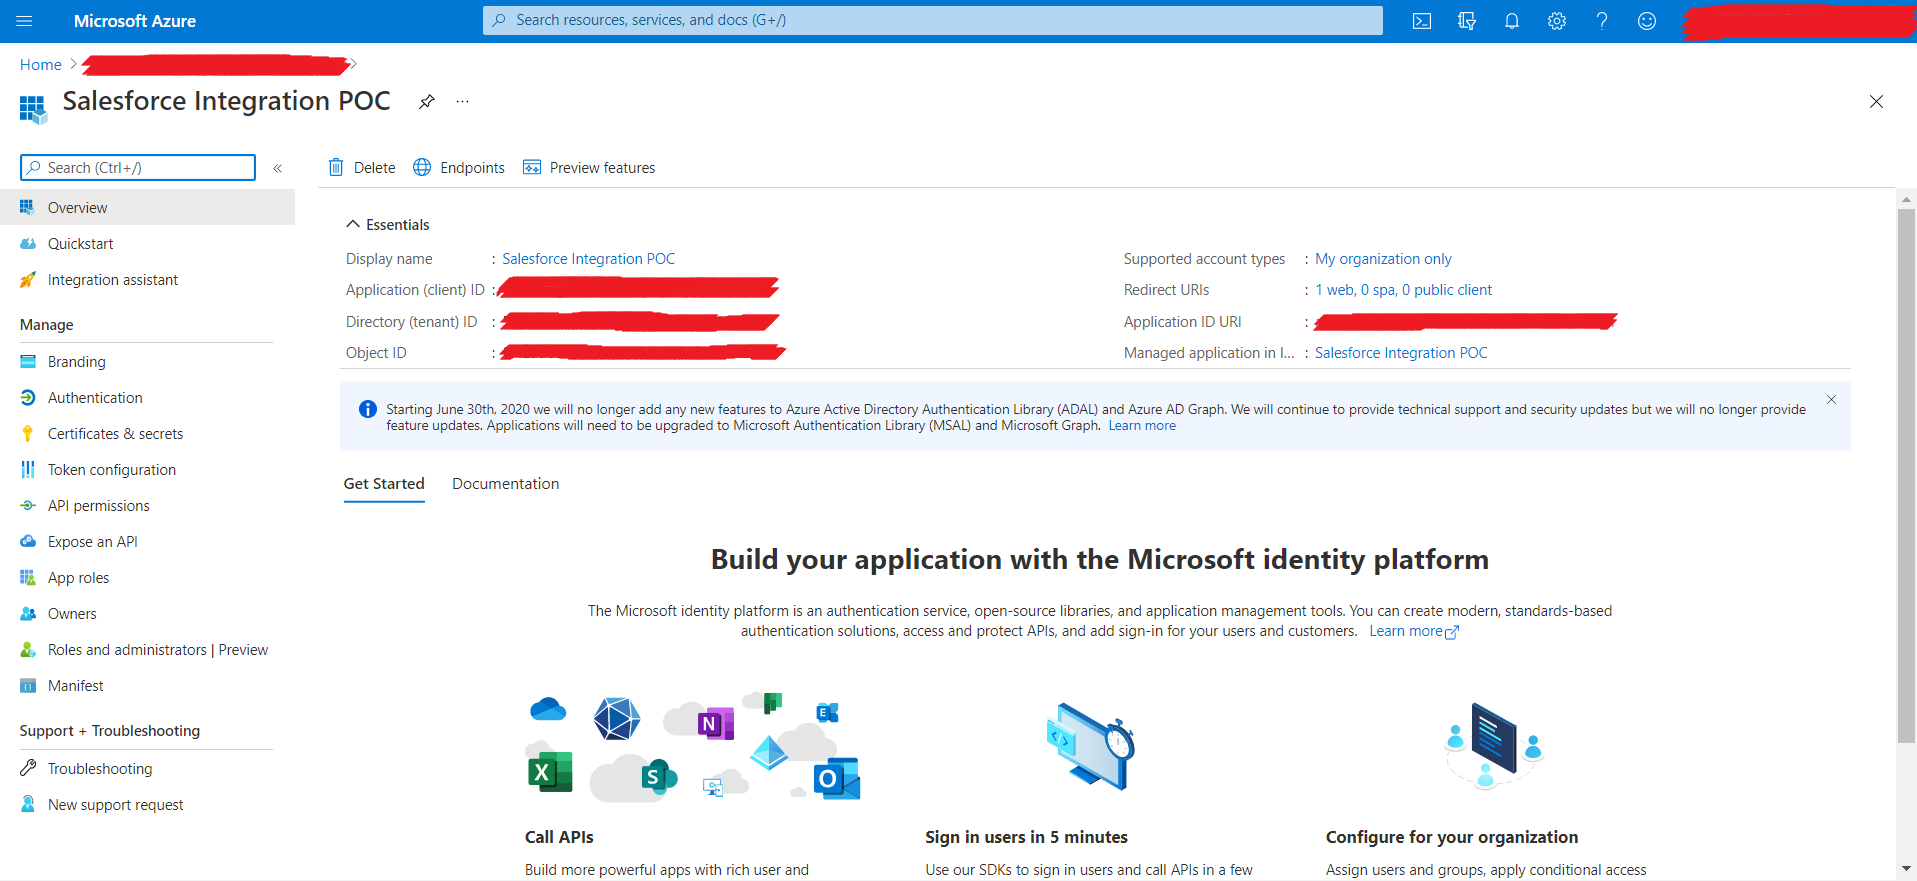
Note down the Client Id and Tenant Id.
Click on Authentication from the left panel.
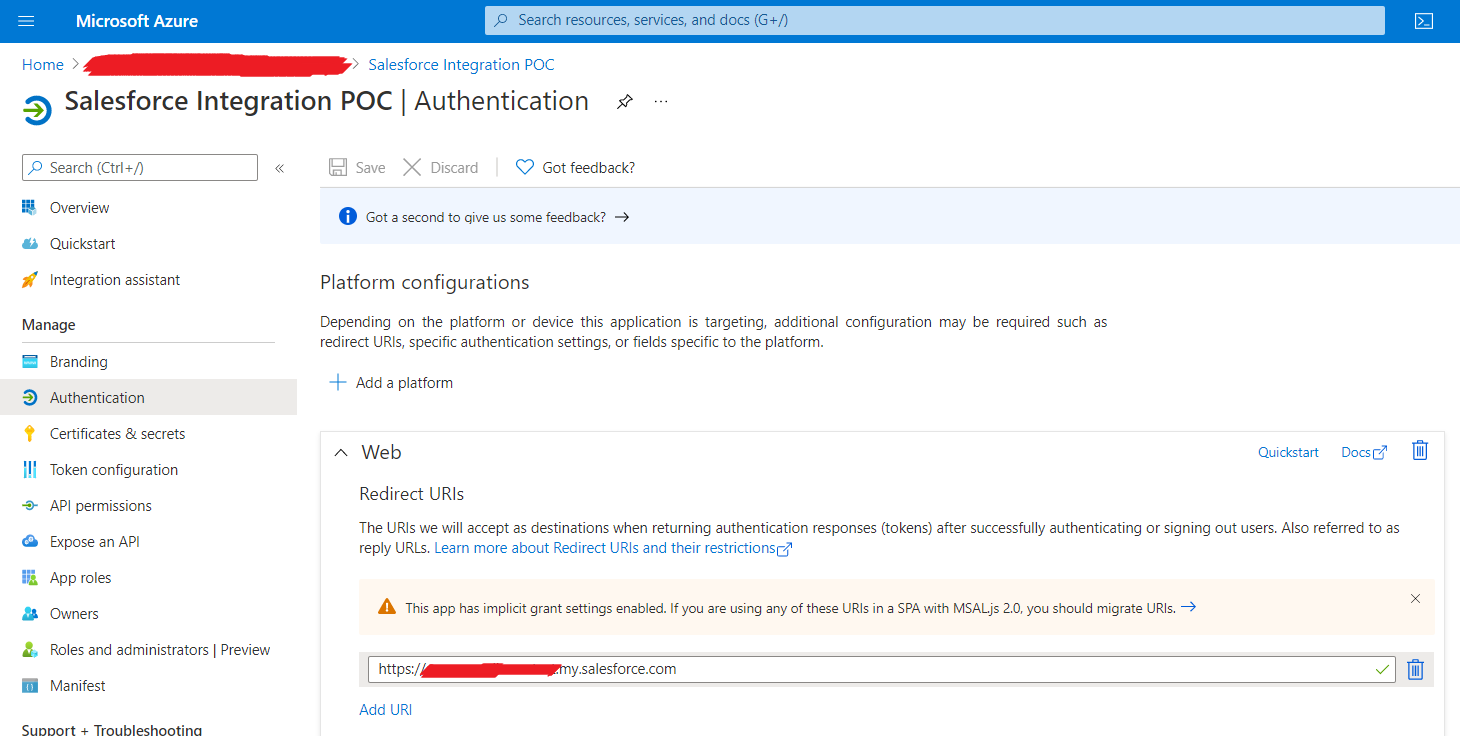
Click on Add a platform. Select Web.
Enter the Redirect URI as your Salesforce org domain.
Ex: https://<domain-name>.my.salesforce.com

Ensure the checkboxes shown in the image are checked.
Click on Certificates & secrets.
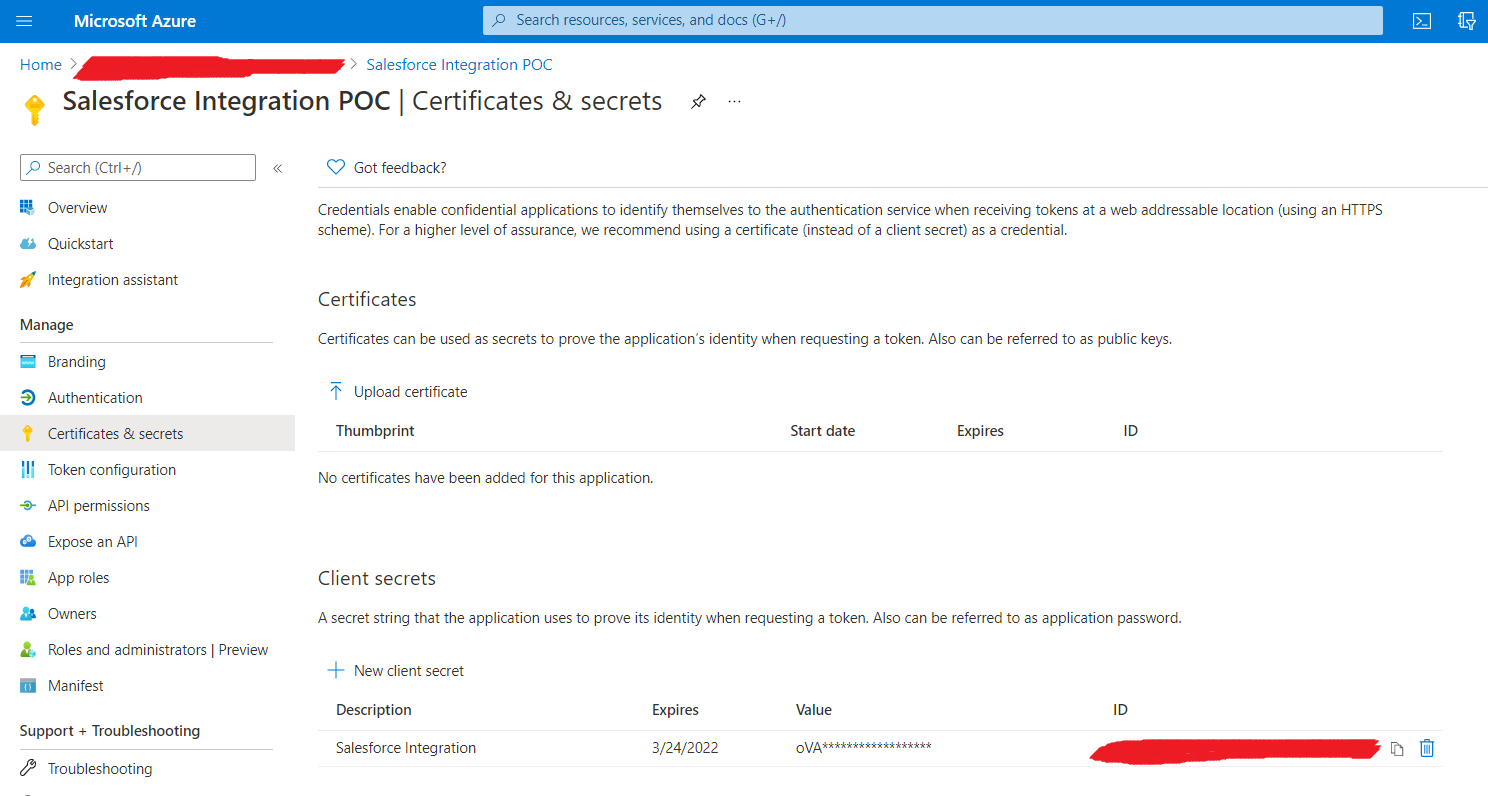
Click New client secret. Once generated, note down the Client Secret value.
-
Request for API permissions (usually granted by SharePoint admin)
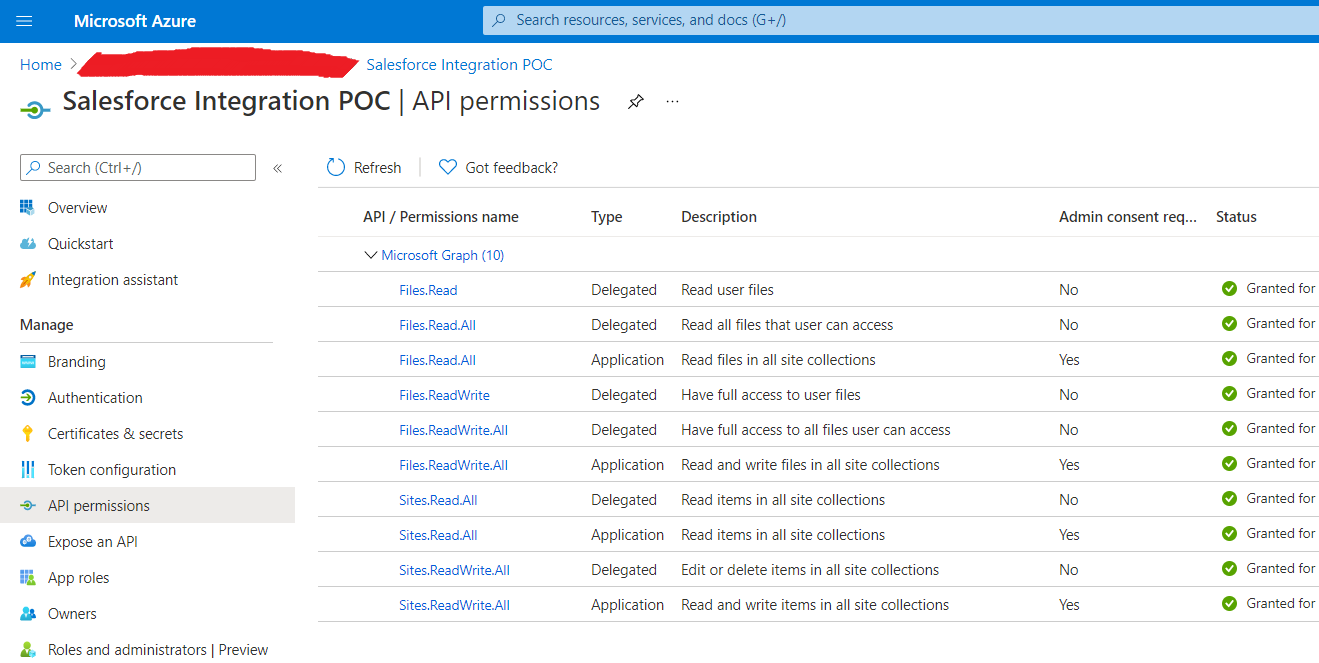
Click Add a permission. Select Microsoft graph. Select the permissions as shown above for Delegated and Application permissions.
Note: Delegated permissions are for user based API requests and Application permissions are temporary access token based API requests. For Application permissions, SharePoint Admin should grant explicit access.
-
Create a SharePoint Site where the documents need to be stored and note down the SharePoint Site Id by hitting this URL in the browser: https://<tenant>.sharepoint.com/sites/<site-url>/_api/site/id
Integration using Microsoft Graph API
Microsoft Graph API exposes various endpoints where requests can be sent over HTTP protocol. It uses the REST API standards and its online documentation is readily available for development, as a result of which we have more control on the SharePoint side.
Once all the prerequisites have been met, we need to prepare our Salesforce Org to integrate with the SharePoint App that we created.
-
- As a best practice, store Tenant Id, Client Id, Client Secret in a Custom Metadata record in Salesforce for making callouts. Specify the name of the record as Azure_App for ease of identification. Store Azure Grant Type=client_credentials, Azure Scope=https://graph.microsoft.com as static values in the same record as they will be the same for all callouts.
- Create two Remote Site Settings:
1) Name=Microsoft_Graph, URL=https://graph.microsoft.com
2) Name=Microsoft_Login, URL=https://login.microsoftonline.com
-
Create an Apex class to make callouts.
Firstly, we need a temporary access token to be specified in the HTTP request header to make any callouts.
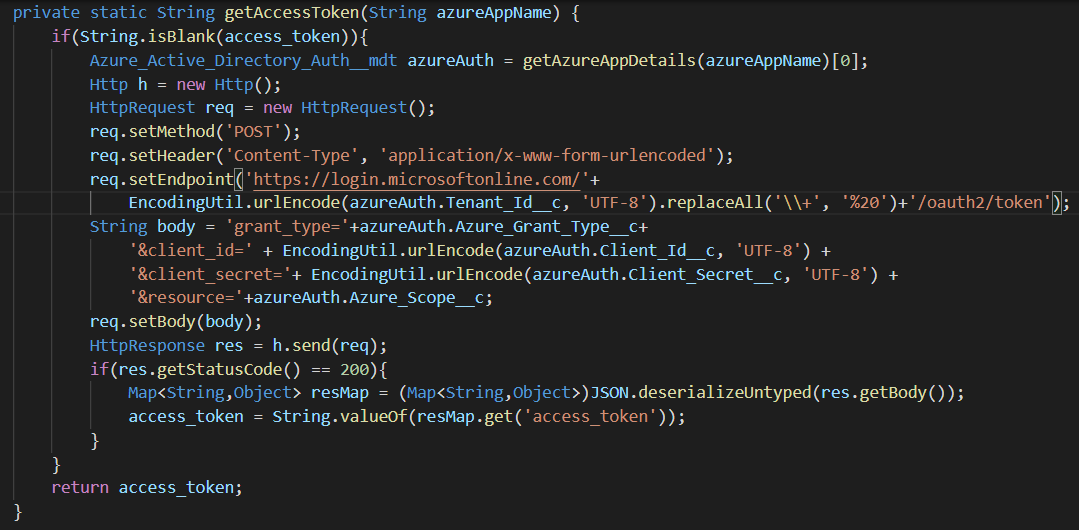
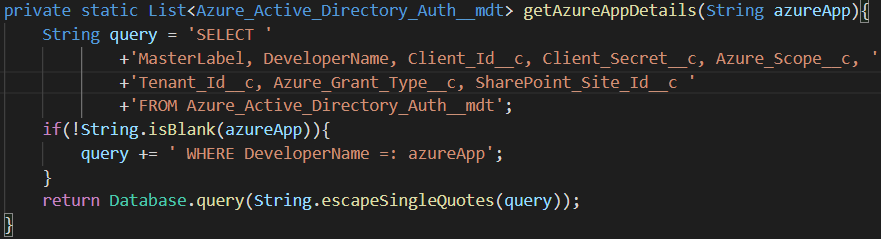
All the necessary details are fetched from the Custom Metadata record and a POST request is made with required URL parameters to fetch the access token.

Every subsequent callout should hold these request headers. Note that the Authorization header has the value Bearer <space><access_token>.
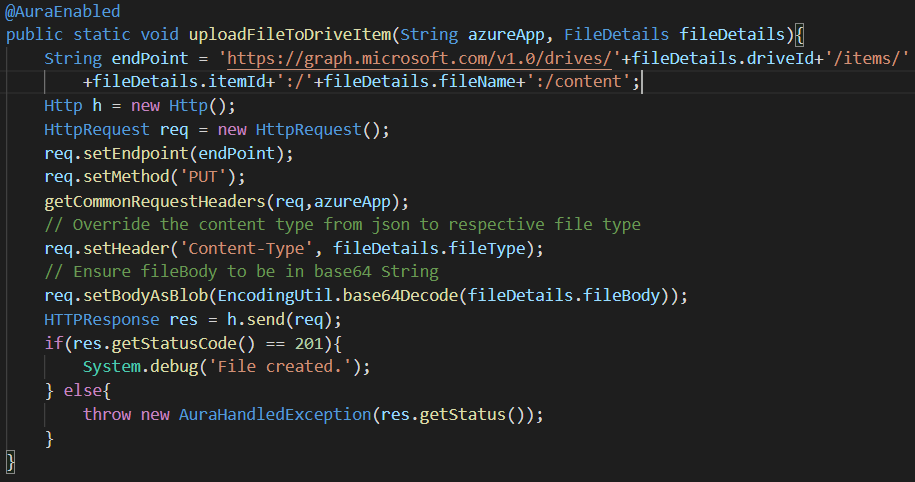
Assuming you have a custom component to upload file and convert the file data to bae64 string, the next step is to form the parameters as shown above and call the method in order to make a callout to SharePoint endpoint.
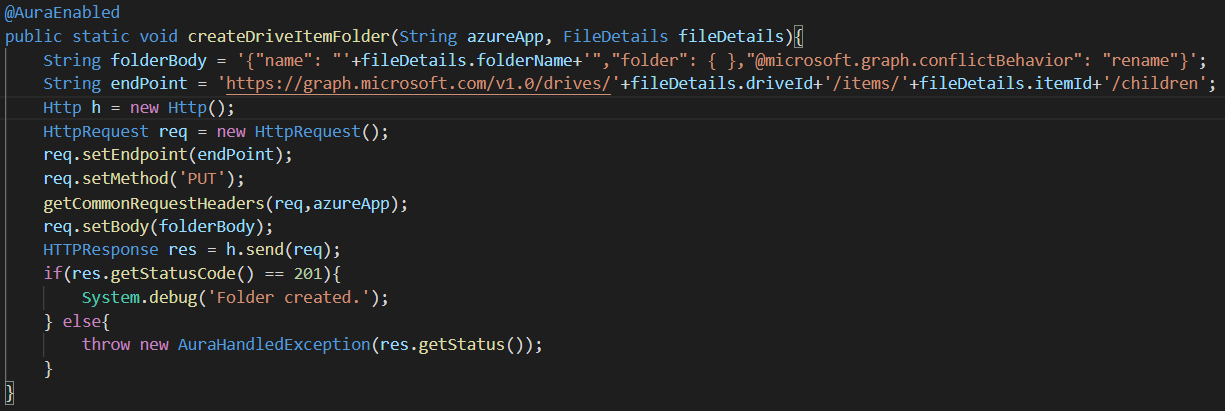
To create a folder as shown above, pass the required parameters and make a callout.
Key Takeaway
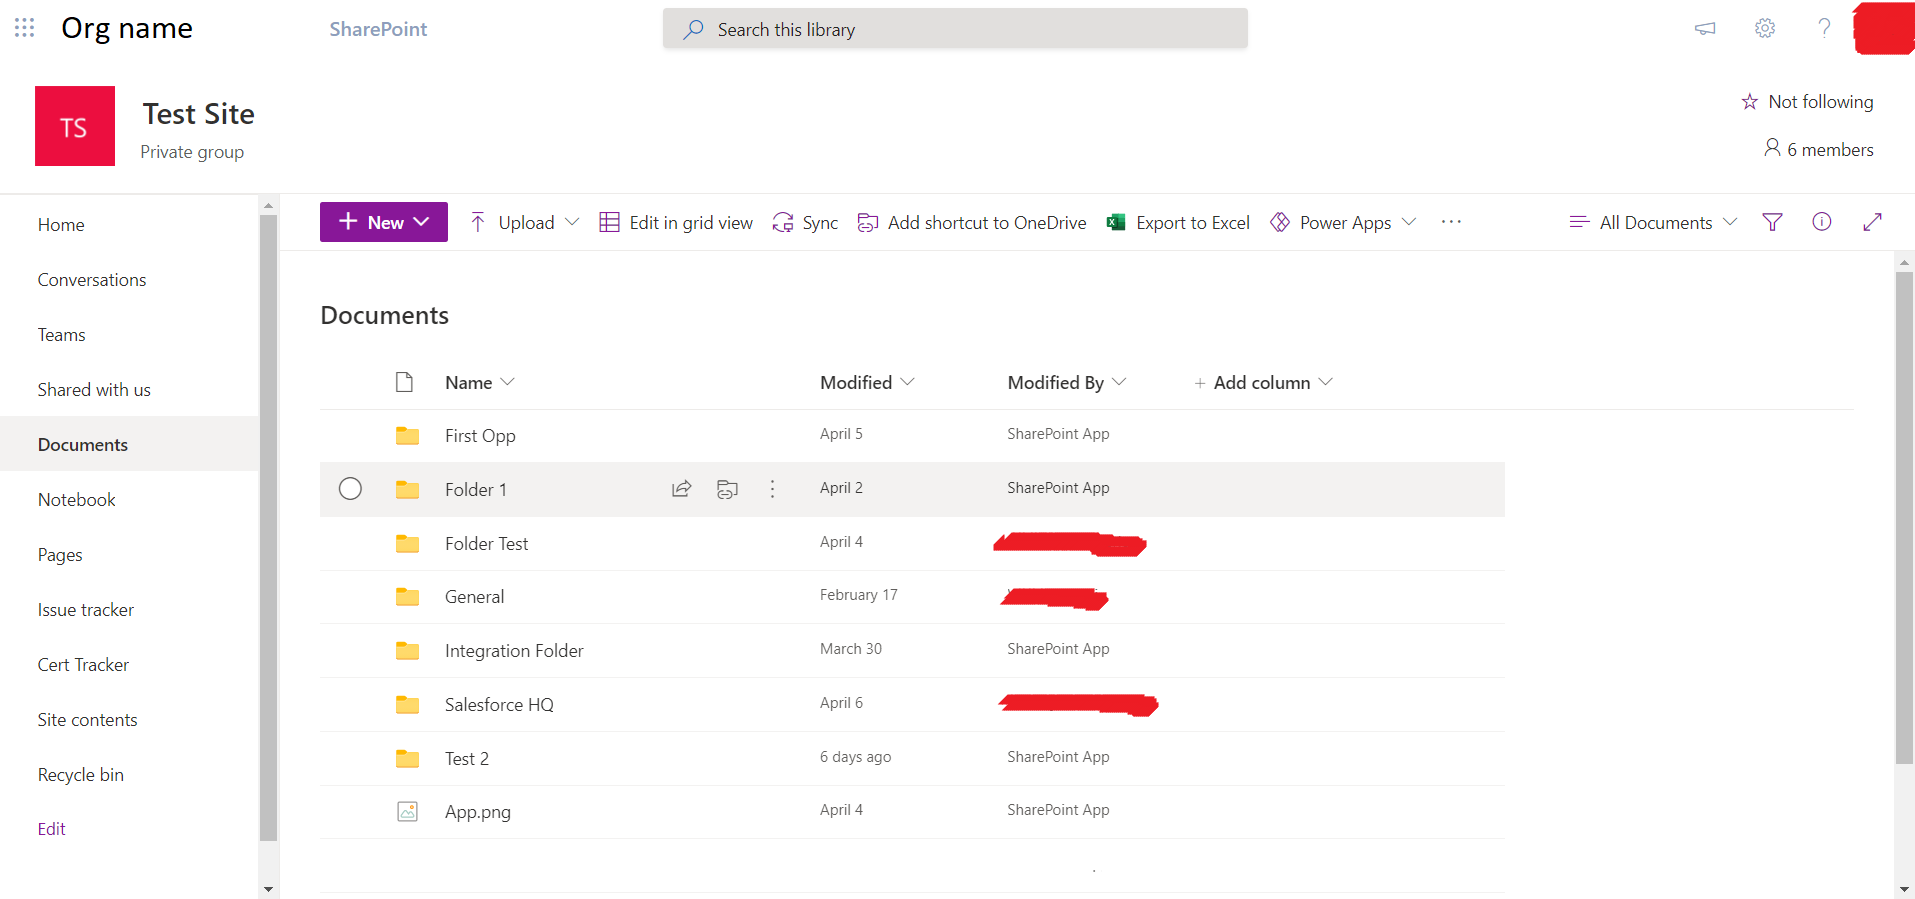
Using the Microsoft Graph API we can create Salesforce components to Read the entire document library, Create folders, Upload files, Download files from SharePoint.


1 thought on “Integrate SharePoint with Salesforce using Microsoft Graph API”
How can be get file details and file drive id