


Agentforce Voice is an AI-powered voice agent in the Salesforce platform that enables organizations to automate customer interactions through natural, real-time voice conversations. It can understand customer requests and perform actions such as updating records or creating cases directly within Salesforce.
This blog provides a step-by-step guide to setting up an Agentforce Voice Agent and testing its functionality, covering the key configurations and voice channel setup required to ensure it works as expected.
Before working with the Agentforce Voice Agent, we need to ensure that the environment is properly prepared.
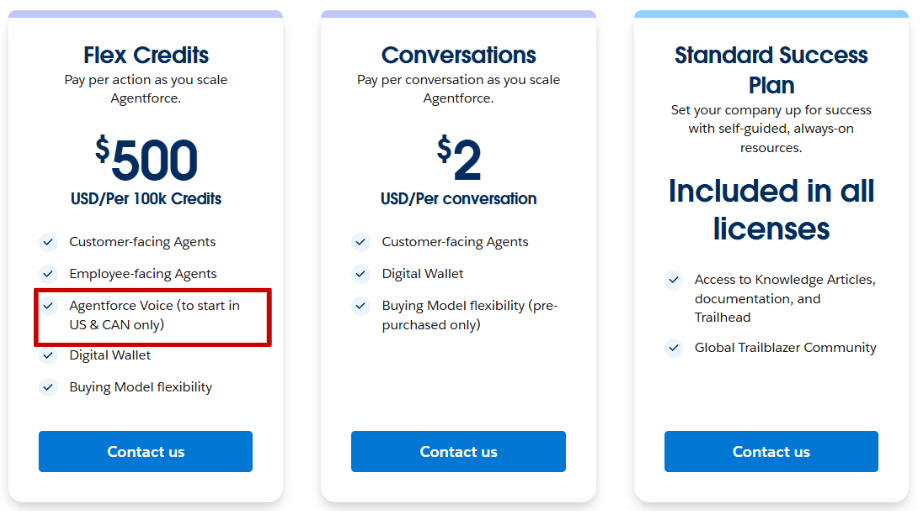
1. First, ensure that your Salesforce org has the Agentforce License along with the Service Cloud Voice License.
2. Next, Service Cloud Voice must be enabled in your org. This step activates the underlying voice infrastructure that allows calls to be made, received, and managed directly within Salesforce.
3. Finally, we grant the right permissions to the people involved. Assign the following permission sets so users can fully interact with the voice system:
With licenses, features, and permissions in place, we are ready to begin the actual setup.
Note: Agentforce Voice may not be directly available in all orgs. If Service Cloud Voice is already enabled, most of the required configurations will be available by default. In such cases, reach out to your org’s Account Executive to get Agentforce Voice enabled.
Currently, Agentforce Voice can be tested only in the Voice Preview window. To make the agent interactive on websites, a Digital Channel (Coming Soon) is required. It is recommended to complete this setup in advance so that once the Digital Channel becomes generally available, the agent can be easily enabled for website interactions.
In this exercise, you will be doing setup for Agentforce Voice Agent.
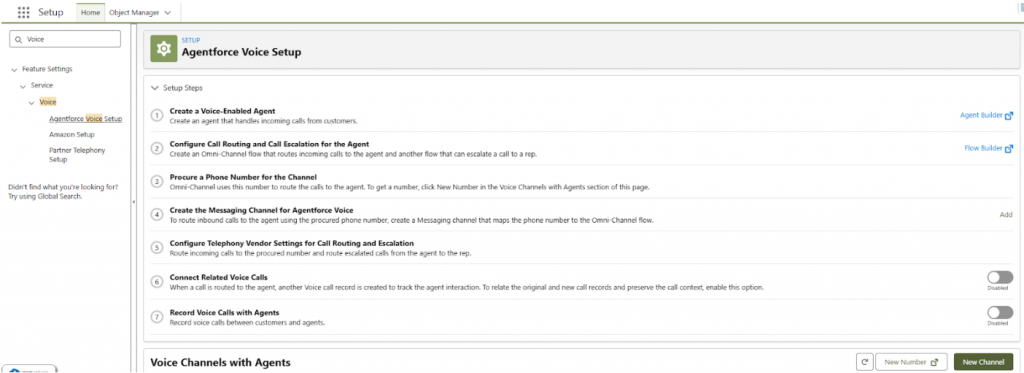
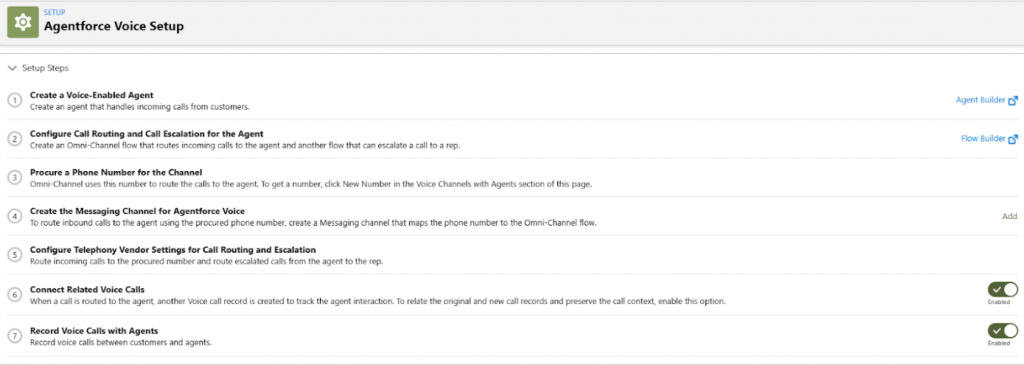
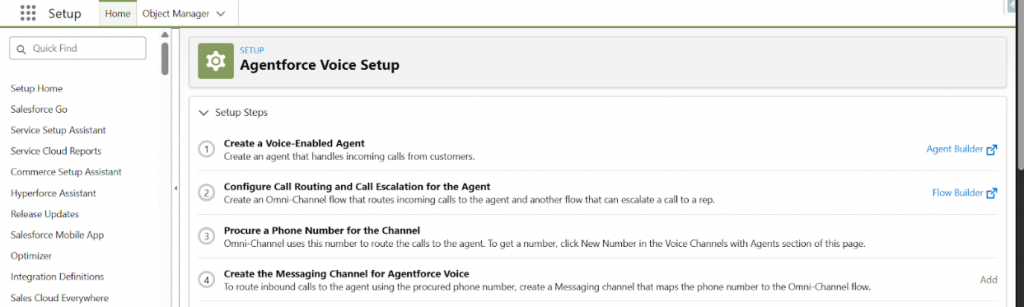
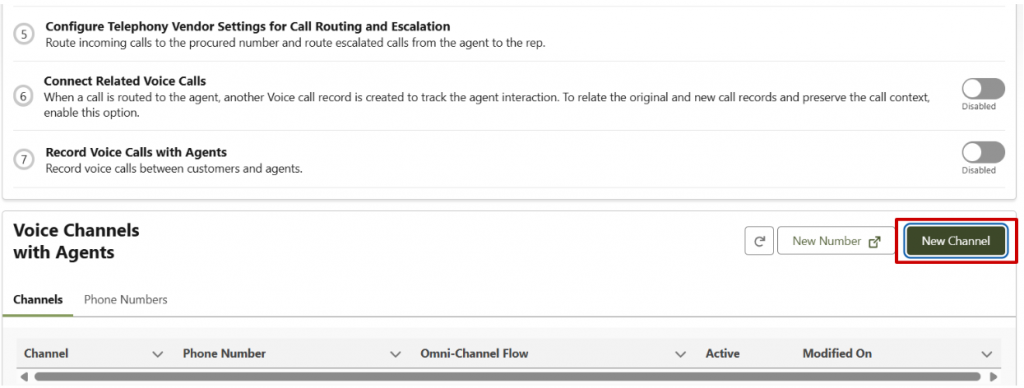
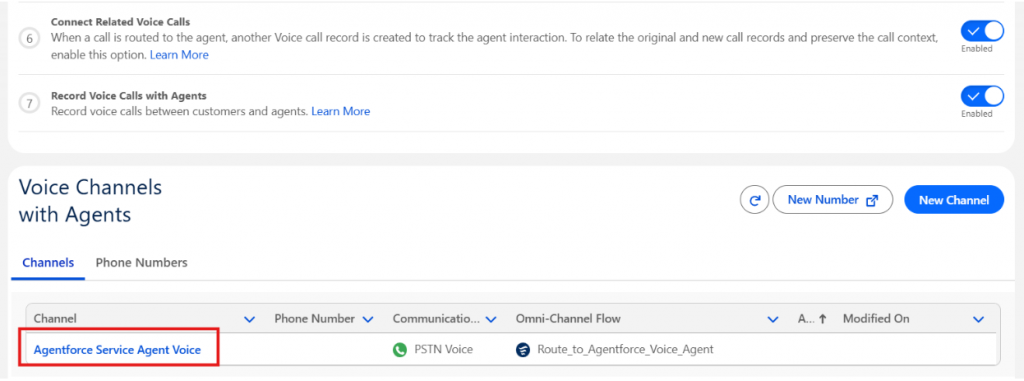
1.1 The first step is to navigate to Setup. Search for Agentforce Voice Setup and open it. From there, enable the two required options:
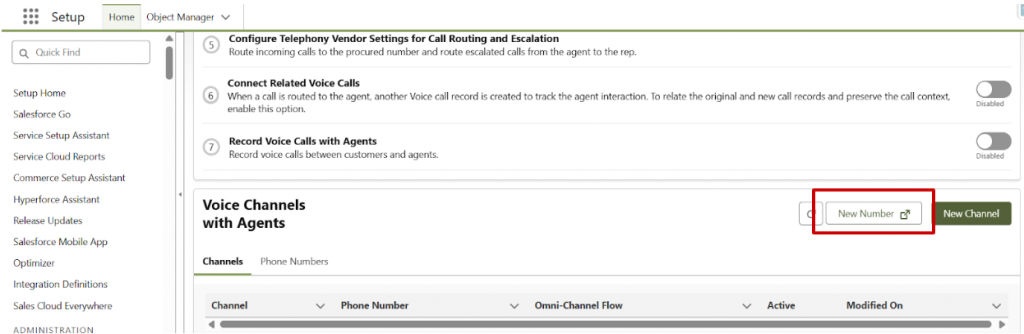
Connect Related Voice Calls and Record Voice Calls with Agents.
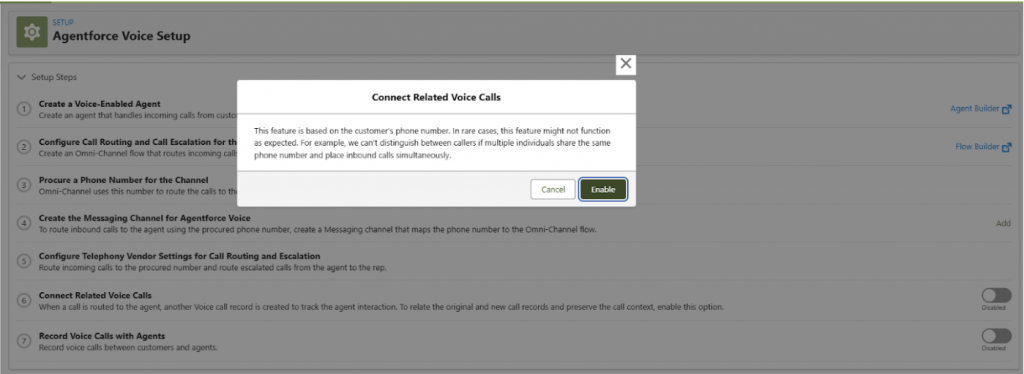
1.2 When you enable Connect Related Voice Calls, Salesforce asks for confirmation. This pop-up is simply checking if you’re ready to proceed. Click on Enable.
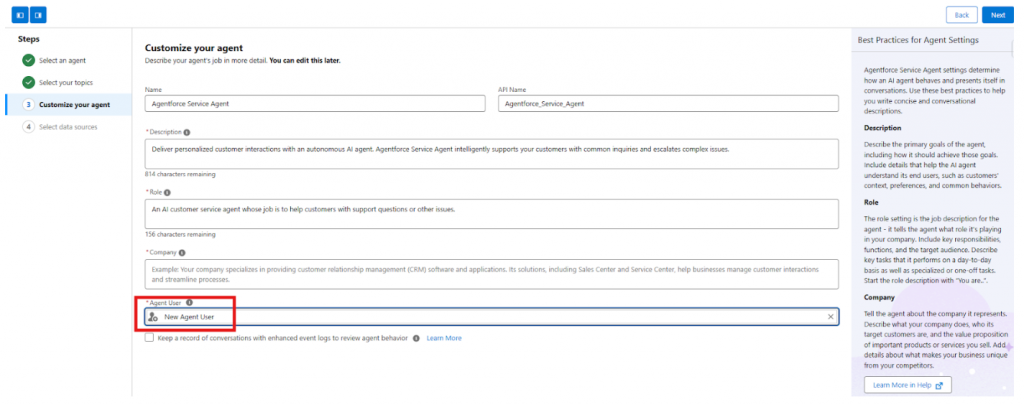
Next, navigate to the Agentforce Builder, where the AI agent is created. Create a new Service Agent.
Behind the scenes, this agent needs an actual user to operate. Create a new Agent User and assign the required permission sets:
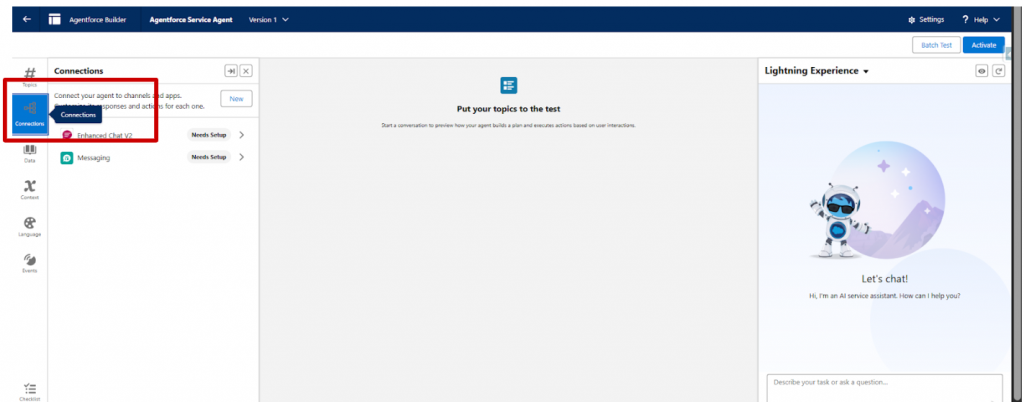
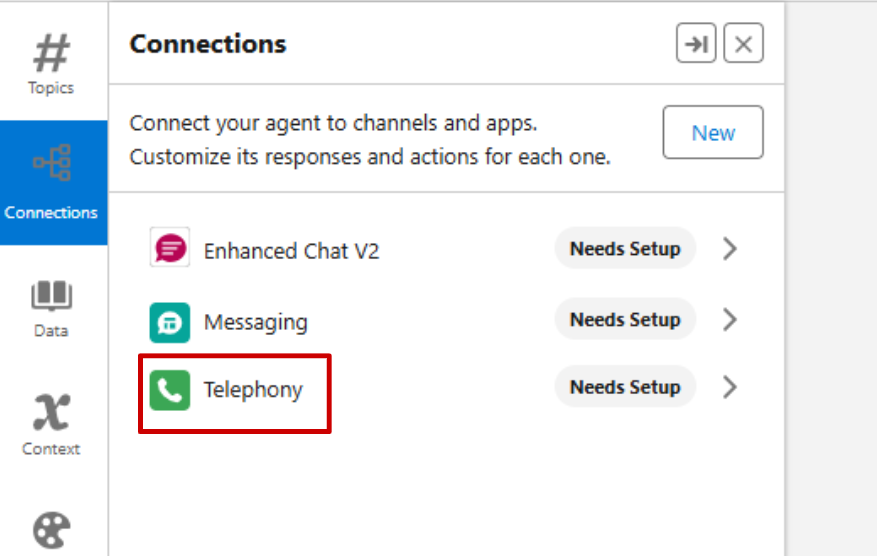
3.1 Inside the Agentforce Builder, navigate to the Connections section.
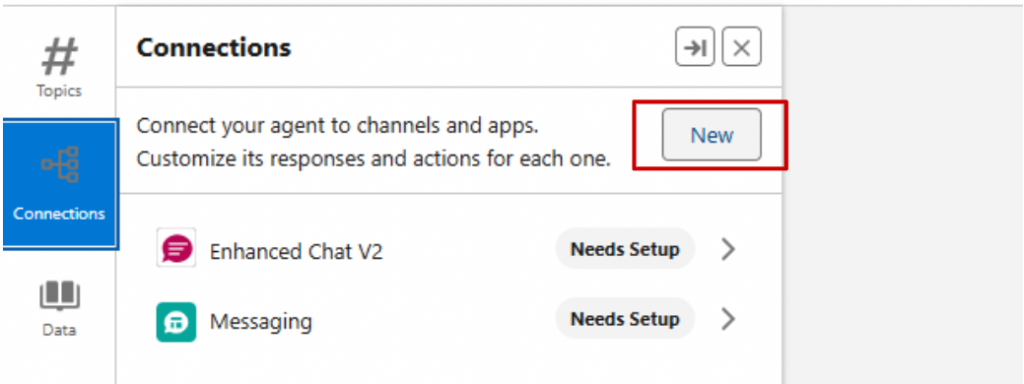
3.2 Click on New
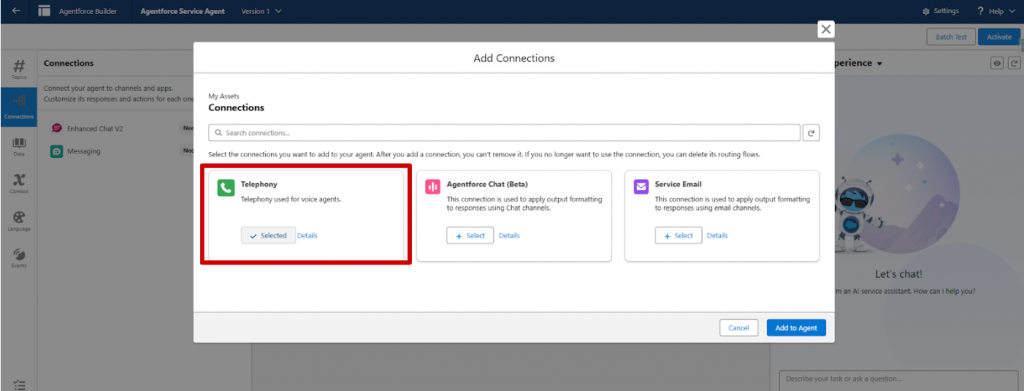
3.3 Choose Telephony, and then select Add to Agent.
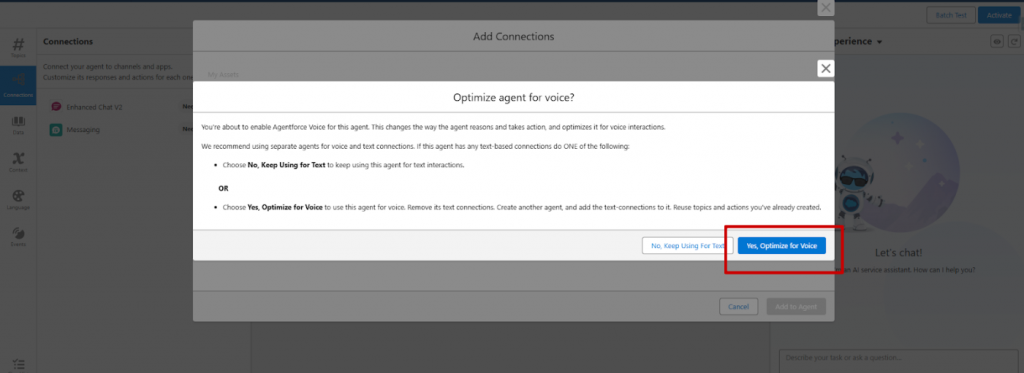
3.4 A confirmation pop-up appears asking if you want to optimize for voice. Click Yes, Optimize for Voice – this tells Salesforce that voice communication is a priority.
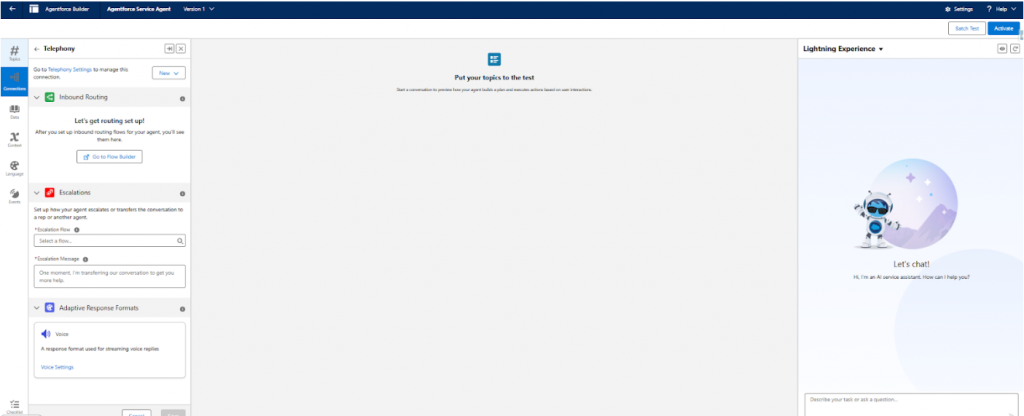
3.5 Once completed, you’ll see Telephony listed under Connections, confirming that the agent can now handle calls.
4.1 Click on Telephony.
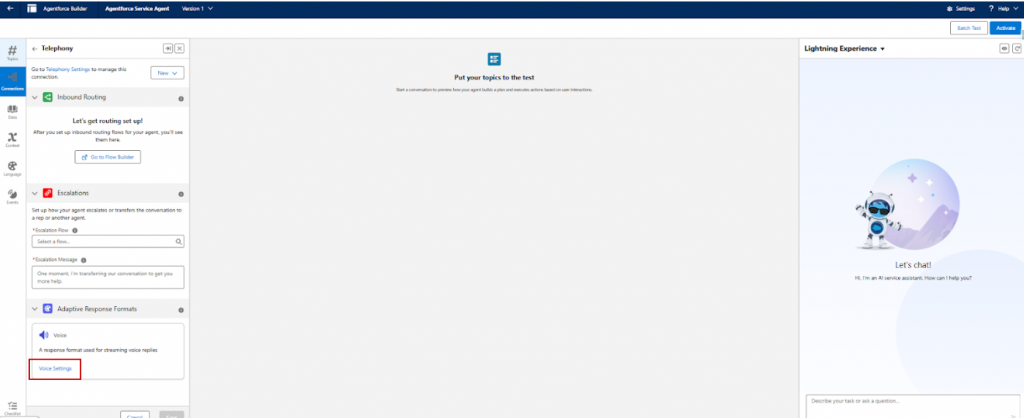
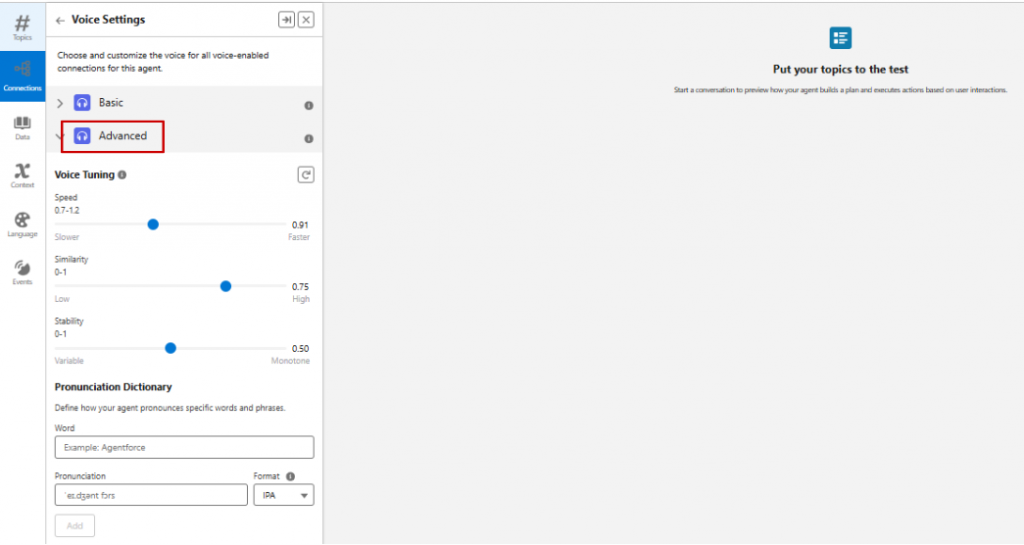
4.2 Open Voice Settings
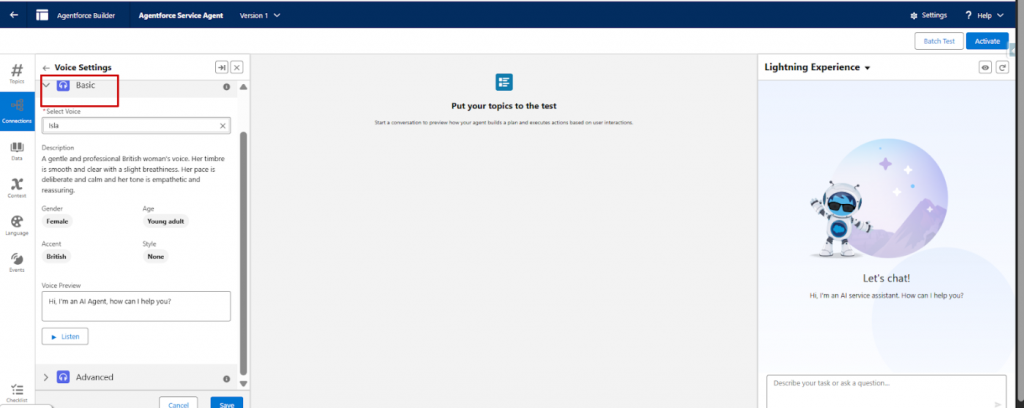
4.3 In the Basic section, choose the voice your agent will use when speaking.
4.4 In the Advanced section, you can fine-tune the tone and define custom pronunciations for specific words. This ensures the agent sounds natural and says important names or terms correctly.
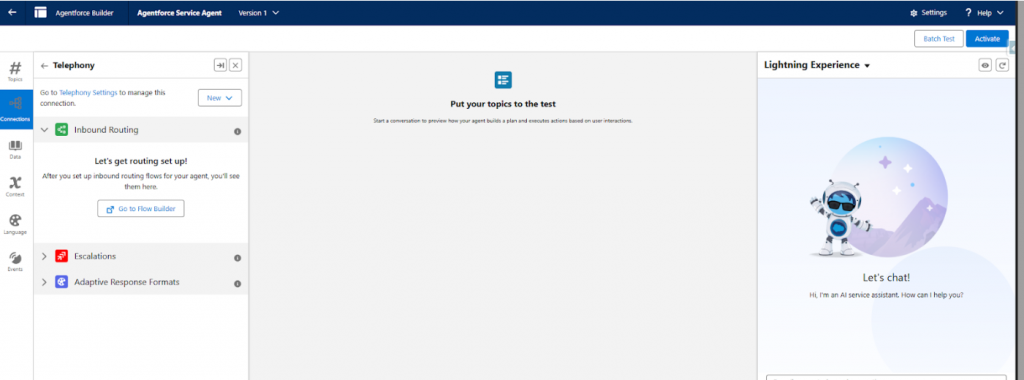
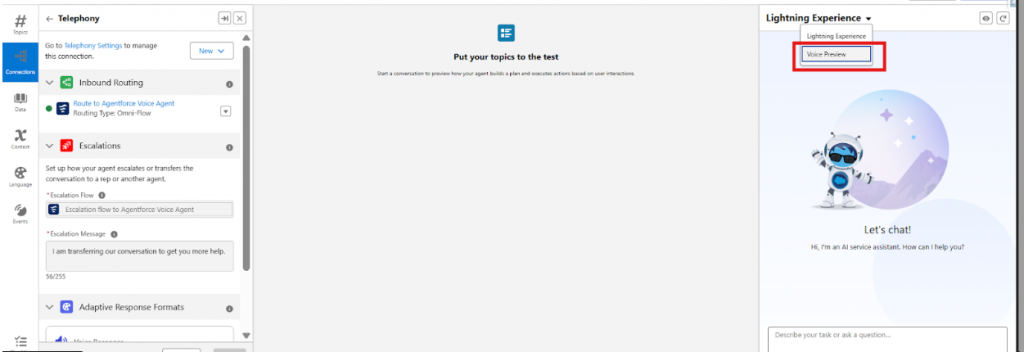
5.1 Next, we configure Inbound Routing. This step decides how incoming customer calls are routed – either to the AI agent or to a human agent using Omni-Channel.
Rather than sending calls randomly, this intelligent routing ensures faster responses and more personalized service.
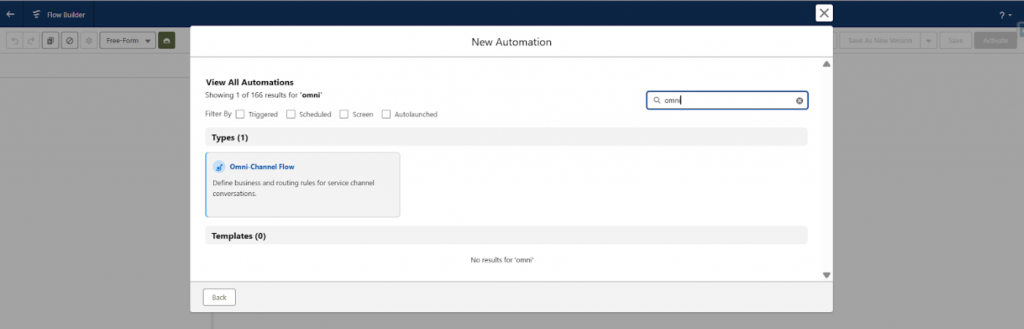
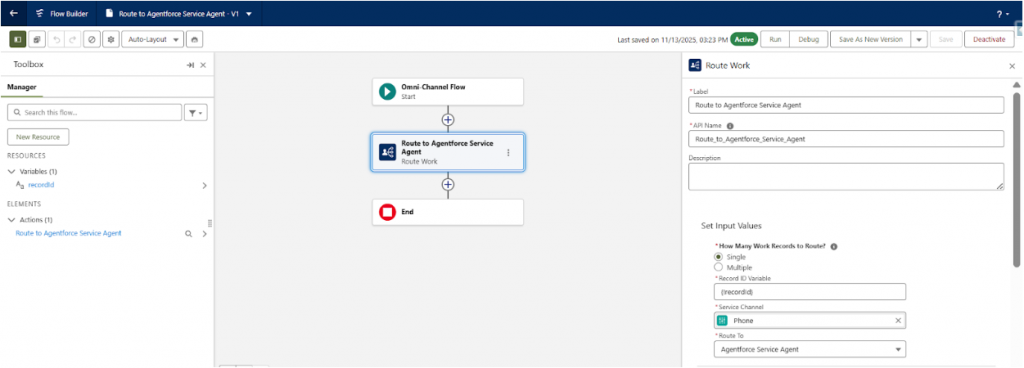
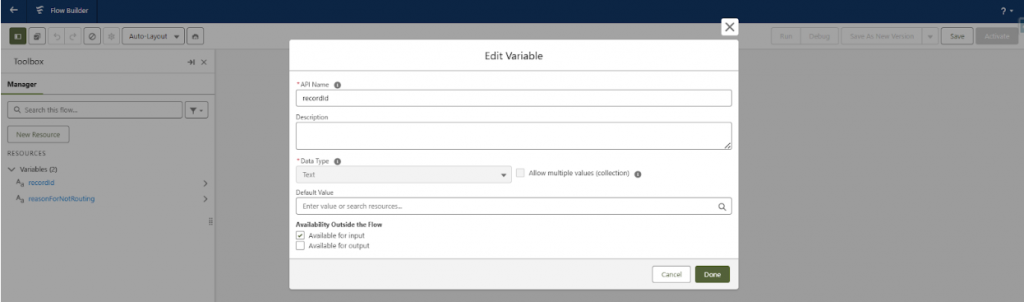
6.1 Open Flow Builder and create a new Omni-Channel Flow.
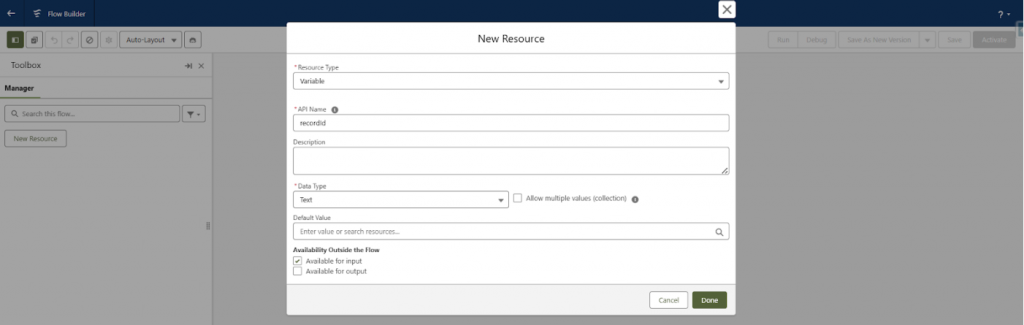
6.2 Create a new resource with the details below.
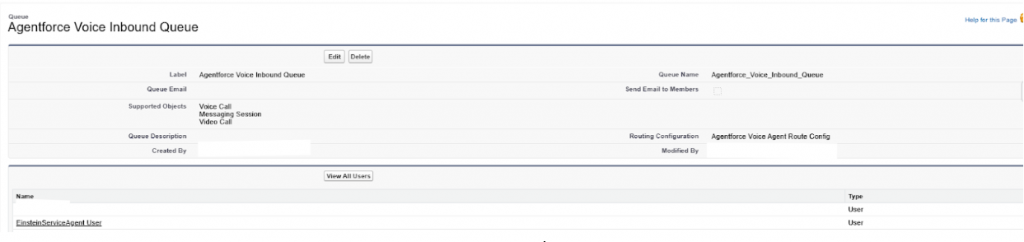
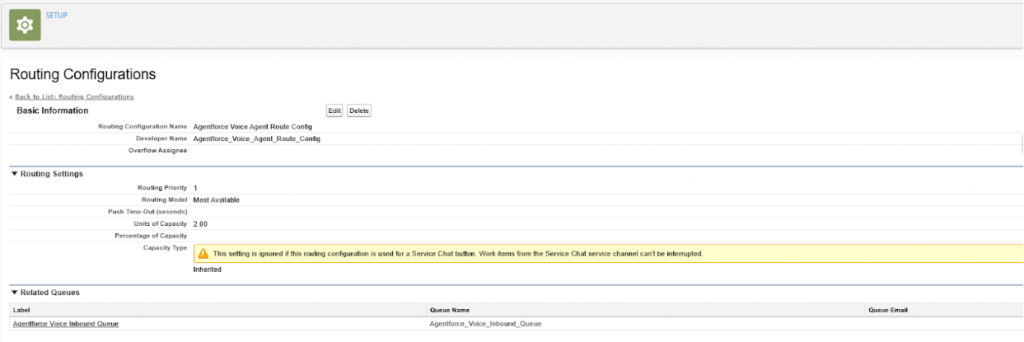
6.3 The queue Agentforce Voice Inbound Queue and the routing configuration Agentforce Voice Agent Route Config have already been created for this flow.
Agentforce Voice Inbound Queue Details:
Agentforce Voice Agent Route Config Details:
6.4 Select the Service Agent (our Agentforce Voice Agent) in the Route To section.
6.5 Select the queue Agentforce Voice Inbound Queue as the Fallback Queue.
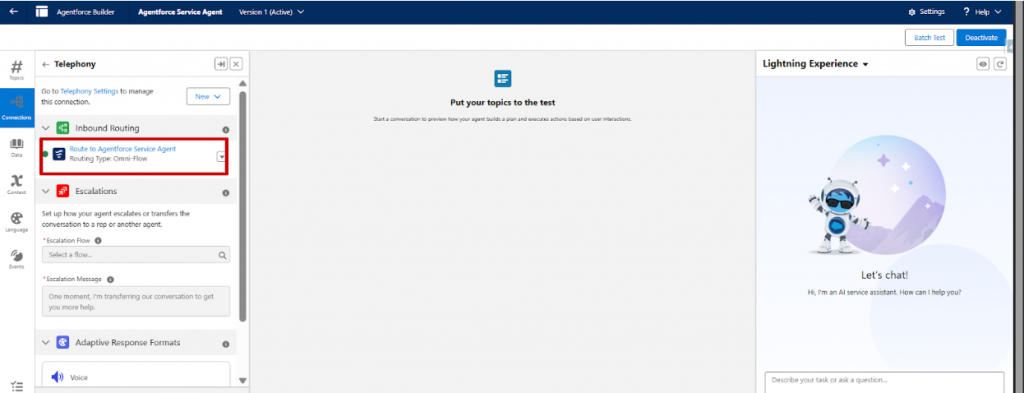
6.7 If you go back to the Service Agent (our Agentforce Voice Agent) and refresh the page, you will see the Inbound Routing flow displayed there.
No agent can solve everything alone, so we prepare for escalation.
7.1 Create another Omni-Channel Flow in Flow Builder specifically for Escalation.
This flow allows the AI agent to gracefully hand off complex or unresolved calls to a human agent.
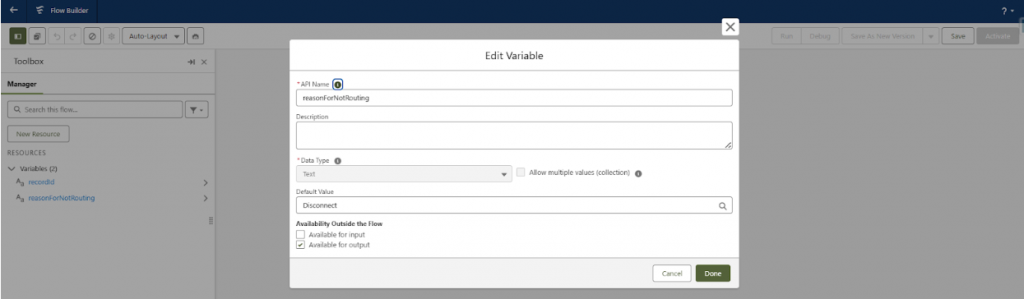
7.2 Create two resources in it:
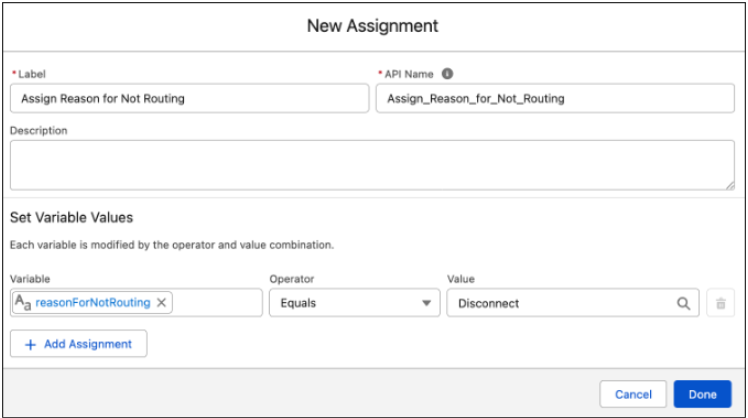
7.3 Place an Assignment action on the canvas.
7.4 Give the action a label and API name and, optionally, a description.
7.5 Under Set Variable Values, select the reasonForNotRouting variable, select the Equals operator, and enter the value Disconnect.
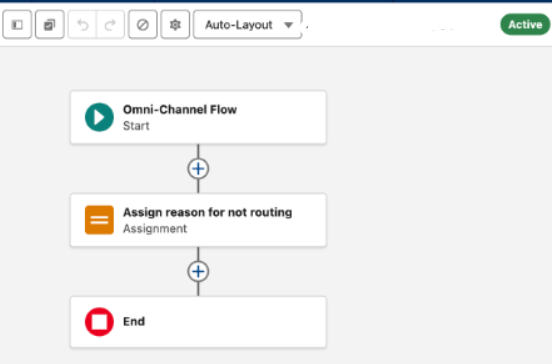
7.6 Click Done, ensure all flow actions are connected, then save and activate the Omni-Channel flow.
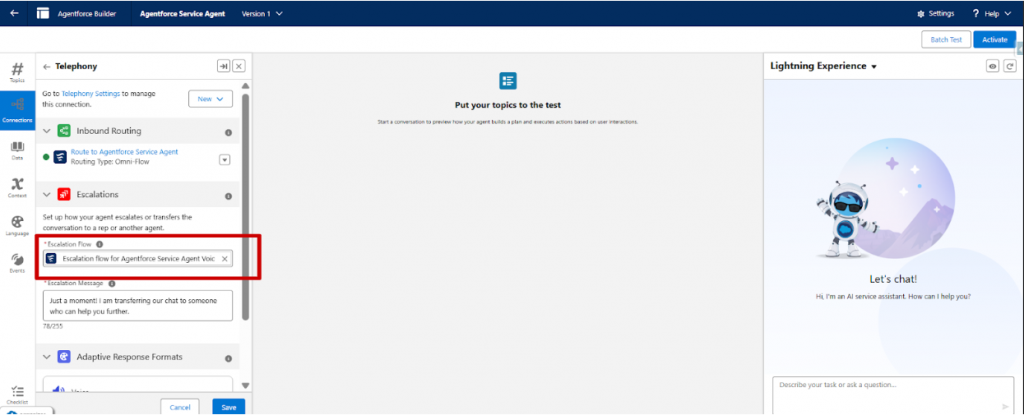
Return to the Service Agent and assign this newly created escalation flow. With this step complete, your agent knows when to continue and when to ask a human for help.
Link to refer: https://help.salesforce.com/s/articleView?id=ai.agent_call_routing_escalation.htm&type=5
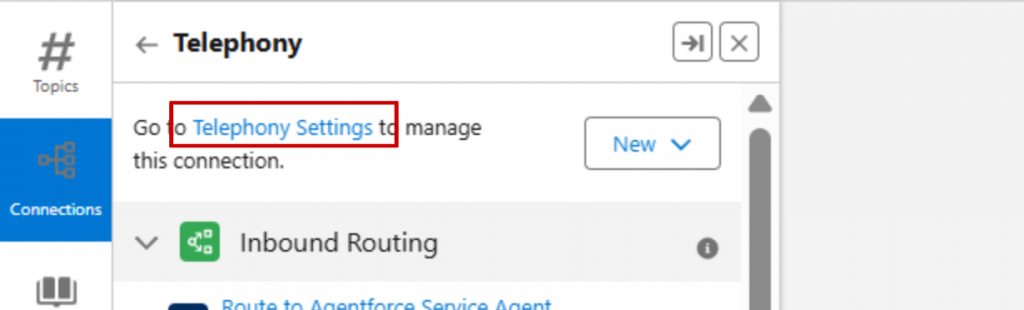
Now it’s time to give your agent a real phone number.9.1 Open Telephony Settings, which takes you back to Agentforce Voice Setup.
9.2 Click on New Number
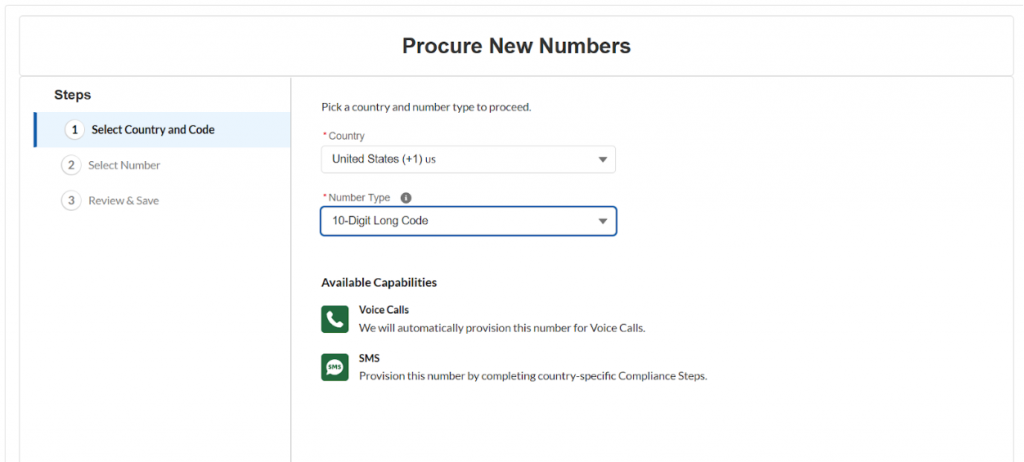
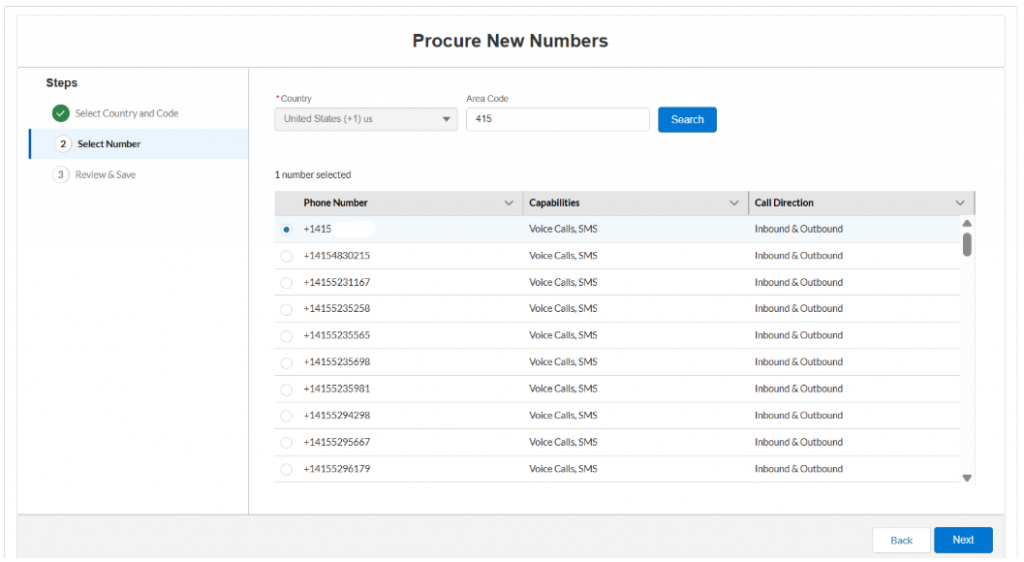
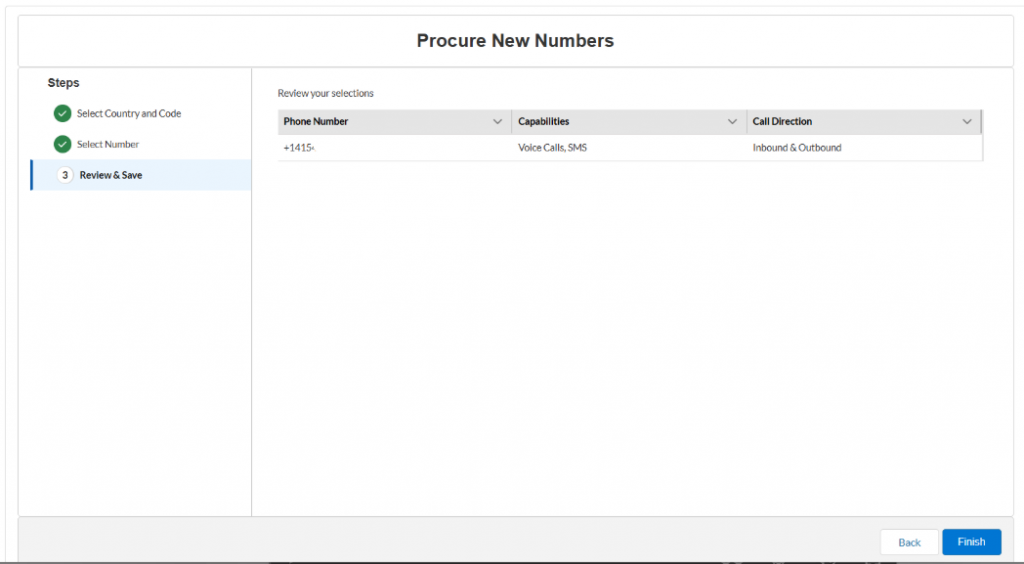
9.3 Select the Country and Number Type, then click Next. Search for an area code to view available numbers.
And then click on Finish.
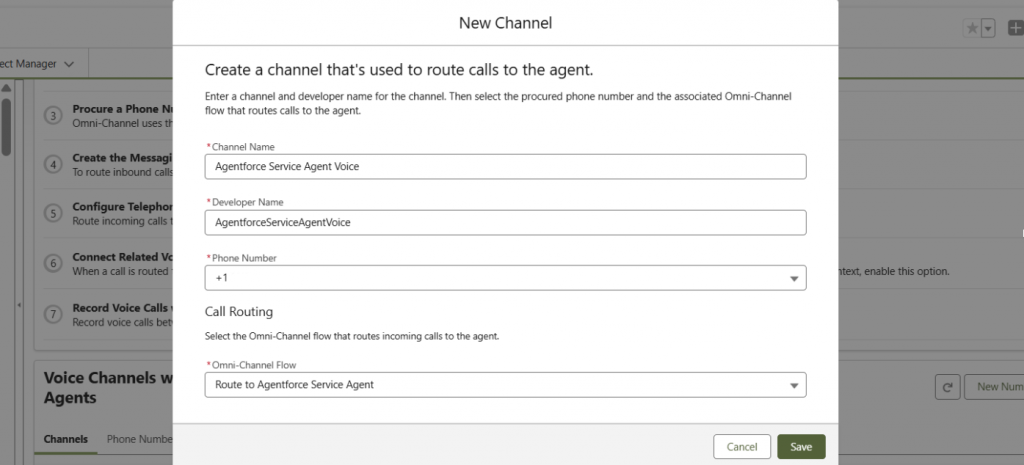
10.1 Click on New Channel
10.2 Fill in the details below and select the Omni-Channel Flow (the Inbound Flow) assigned to the Service Agent (our Agentforce Voice Agent). Then click Save.
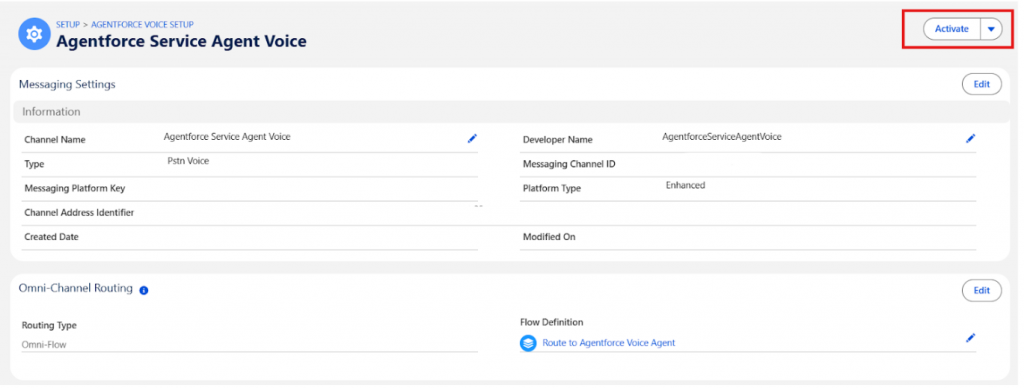
10.3 Next, click on the Voice Channel that was created and activate it.
Note:
This is the basic setup to create an Agentforce Voice Agent. To enable call escalation, the Partner Telephony Setup must be configured, Service Cloud Voice must be enabled, and the Contact Center setup must be completed. A telephony provider (for example, Amazon Connect, Genesys) is then selected to handle escalated calls from the Agentforce Voice Agent. When a call is escalated, notifications are received in the Service Cloud Console.
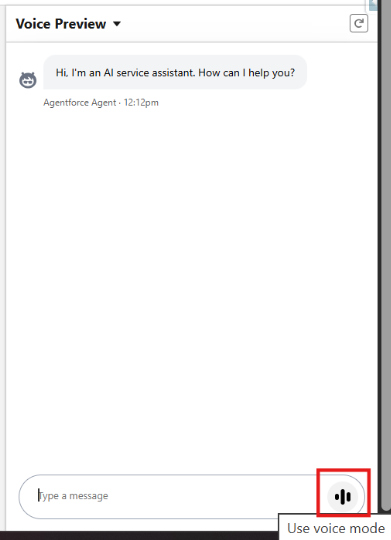
2. Change the input mode to Voice Mode, and start speaking.
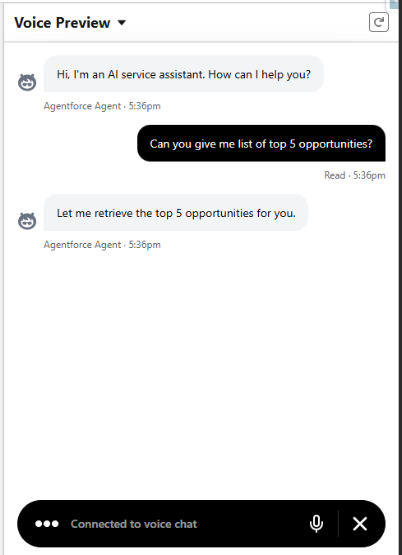
3. Ask questions, test scenarios, and experience the full voice interaction.
You can call the agent using the procured phone number from your phone to test your Agentforce Voice Agent.
This brings voice capability to a chat-based Agentforce agent. To learn how to use Agentforce Voice with telephony calls, stay tuned for the next blog!
By completing the setup and testing process, you can successfully enable voice capabilities for your Agentforce agent. This establishes a strong foundation for delivering seamless and real-time customer interactions within Salesforce.
Author: Gautami Mamidala